Badge Removal

Most enthusiast are very proud of their cars, but often want to see a cleaner look on the rear of the vehicle.  This can be accomplished by removing the badging.  The following illustrte the process for badge removal.  It's important to note that overtime paint will fade slightly due to UV exposure and grit caught on the edge of the badge can wear away at the clearcoat.  The result is a faint outline of the badge after it has been removed.  This is called ghosting.  In the case of newer cars, this is generally not a problem, but on older vehicles it can be very obvious and impossible to remove. 

Heat up the badge with a heat gun on lowest setting and pull fishing line behind the badge to separate the adhesive.

Remove remaining adhesive residue. Start by lightly heating the adhesive again and start at an edge rolling the adhesive on to itself with a thumb.

Remove remaining residue with a body prep solvent or tar remover by allowing the product to dwell to soften the adhesive before wiping with a towel

Finally, compound and polish the area to remove any scratches from grit that was behind the badge or instilled during the removal process.

2014 Audi S4 All-in-one correction

This car had received a similar process in the early winter to address some defects that were left by a bodyshop after repairs were done.  After a long winter it had accumulated a number of wash induced defects that needed to be addressed prior to summer.  The owner decided on a similar process to the following year to remove the majority of shallow defects and restore the gloss that had degraded over the winter. 

Process

  • Wheels and tires cleaned with Meguiar's DUB wheel cleaner and Megs D108 
  • Prefoamed with CG citrus wash + Gloss and Bilt hamber Surfex HD
  • Hand wash with CG citrus wash daily
  • Mechanically decontaminated with traditional clay bar
  • Paint was polished and sealed with Carpro Essence on a 21mm DA with rupes yellow pads
  • Paint was further protected with TAC systems Quartz Max Silica spray sealant
  • Dress dressed with carpro PERL
  • Trim and wheels protected with carpro hydro2
  • Exhaust cleaned with pinnacle exhaust cleaner and brightener


2014 Audi S4 etching removal and seasonal prep

This car spends it time in a newly constructed parking garage.  The owner noted some staining on the hood of the car.  Upon inspection, it appeared to be from concrete/lime runoff.  This type of lime can very quickly etch unprotected clearcoat and over time can also etch protected clearcoat.  When I initially inspected the vehicle I did a small test spot to see if mechanical decontamination could remove the staining.  It did successfully do so and we schedule the work for the upcoming weekend.  By the time we performed the work, less than a week later, the deposit had already started to etch the finish such that the clay bar was no longer effective at removing the staining.  As a result, we shifted to chemical decontamination with a mild acidic mineral deposit remover.  This was able to remove the staining.  This was followed by an alkaline wash to neutralize the acid.  Finally, the area got a free rinse to remove any remaining residues.  After that was complete, the hood was polished to remove any trace marring from the process and then blended into the front fenders to give a uniform appearance.  The remainder of the vehicle was thoroughly decontaminated and then sealed to protect the paint until further work could be done. 


Mechanical Decontamination

Mechanical decontamination is the process of removing bonded surfaces contaminants by means of mechanical abrasion.  We scour the surface with a mildly abrasive media.  The goal is to use a media and scouring action that is aggressive enough to break the bond, but gentle enough not to mar the finish.  

Thing start to get complicated quickly since the contaminants that are picked up by the media are then scouring the surface and may leave marring behind.  Detailing clay is malleable enough to absorb these contaminants and minimize the risk of scouring.  It's important to kneed the clay regularly to rejuvenate a clean surface on the clay.   In this manner, we are able to minimize the potential for marring. 

In recent years a number of different clay alternatives have been introduced.  These consist of a polymerized rubber applied to some type of media.  These vary from blocks, towels, wash mitts and even pads that can be used on a polisher.  These rubber products have the advantage of being much faster to use.  This is in part due to them being larger and more aggressive.  The aggressive nature of them increases the likelihood of marring the paint.  It is generally recommended to only use these products if you plan to polish the paint afterward. They also have the advantage of being cleanable.  If you drop a clay bar on the ground it should be thrown away, you will never get all the dust and dirt out.  If you drop a clay alternative on the ground, it can be thoroughly washed, scrubbed and returned to use.  These alternatives last much longer as well, one can easily use it on 20 vehicles and many, many more in some cases, whereas a claybar may only be good or 2 or 3 vehicles. 

When planning to mechanically decontaminate a vehicles, it should be thoroughly washed to remove any normal soiling.  Then evaluate the surfaces for and feel for any roughness.  This roughness is typiclaly bonded surface contaminants that can be removed with clay.  Do not bother drying a car before claying, you will be rewetting and drying again in the claying process so drying after a wash is a wasted step unless there is a concern of water drying and leaving waterspots. 

The first step is to apply some type of lubricant to the paint. This can be a dedicated clay lubricant, detail spray or other spray applied product.  This lubricant acts to minimize the potential for marring, facilitate a smooth movement of the clay media and to suspend particulate that has been removed from the paint. Ideally, enough lubricant should be applied such that it has started to runoff the paint.

The when claying the car, define a work area that is consistent with the media, level of contamination and your skill level.  If the paint is terrible and you have a tiny clay bar, work a 1'x1' area.  If the car is in very good condition, you can increase that area.  Check the clay media after each section and kneed or clean as necessary.  Certain areas will be much more contaminated and should be done last if possible; such areas are the rear of the car, behind the wheels and the front bumper.  

Once contaminants are remove, wipe off the lubricant before contaminants have an opportunity to settle back onto the paint.

When finished, the paint should feel smooth and be ready for paint correction or application of your protectant.

Snow Foams

This may be a relatively new term to many people, but the name conjures up images of thick lather and shaving cream.  This is absolutely possible, but it requires the right tools and may not be as effective as you think.  Read on for a discussion of the pros and cons of snow foams and how to choose one that's right for you.

As a professional, I rely on snow foam as part of my normal wash procedure.  It can cling to the paint well and help to soften and break down soiling on the paint before I even touch the car.  There are a variety of types, from very strong alkalines to remove heavy contamination, to pH neutral that is very safe for the paint.  I feel this is an essential part of my wash procedure for dirty cars.  It also looks like you are at the car wash and is visually appealing to onlookers.

There are a few downsides to these products that you need to consider before committing to the investment.  You need a pressure washer and a pretty strong one.  Mine gas unit is 3000 psi and I can get a nice thick foam.  My electric unit is 1600 psi and the foam is lackluster at best.  You should plan to use quite a bit of product too, on the order of 4oz concentrated product diluted in the container.  Do also consider that even with that thick foam, only a small portion is actually in contact with the paint and doing any work.  It's much more important to find a product that clings well and has a long dwell time, rather that just the thickest foam.  There aren't very many options available in the US currently unless you choose a product designed for an automatic car wash.  Chemical guys makes Honeydew Snow Foam and Bilt Hamber's autofoam has recently become available in the US.  I tend to make my own snow foam mixture though.  In my case I use Chemical Guys Citrus Wash + Gloss for it's high foaming and good clinging properties and I will augments that with an all purpose cleaner or dedicated snow foam.  In my case those are Bilt Hamber Surfex HD and Ultimate Snow Foam (respectively).  This combination smells great, produces tons of foam, cleans and clings very well.  

The human element in paint correction

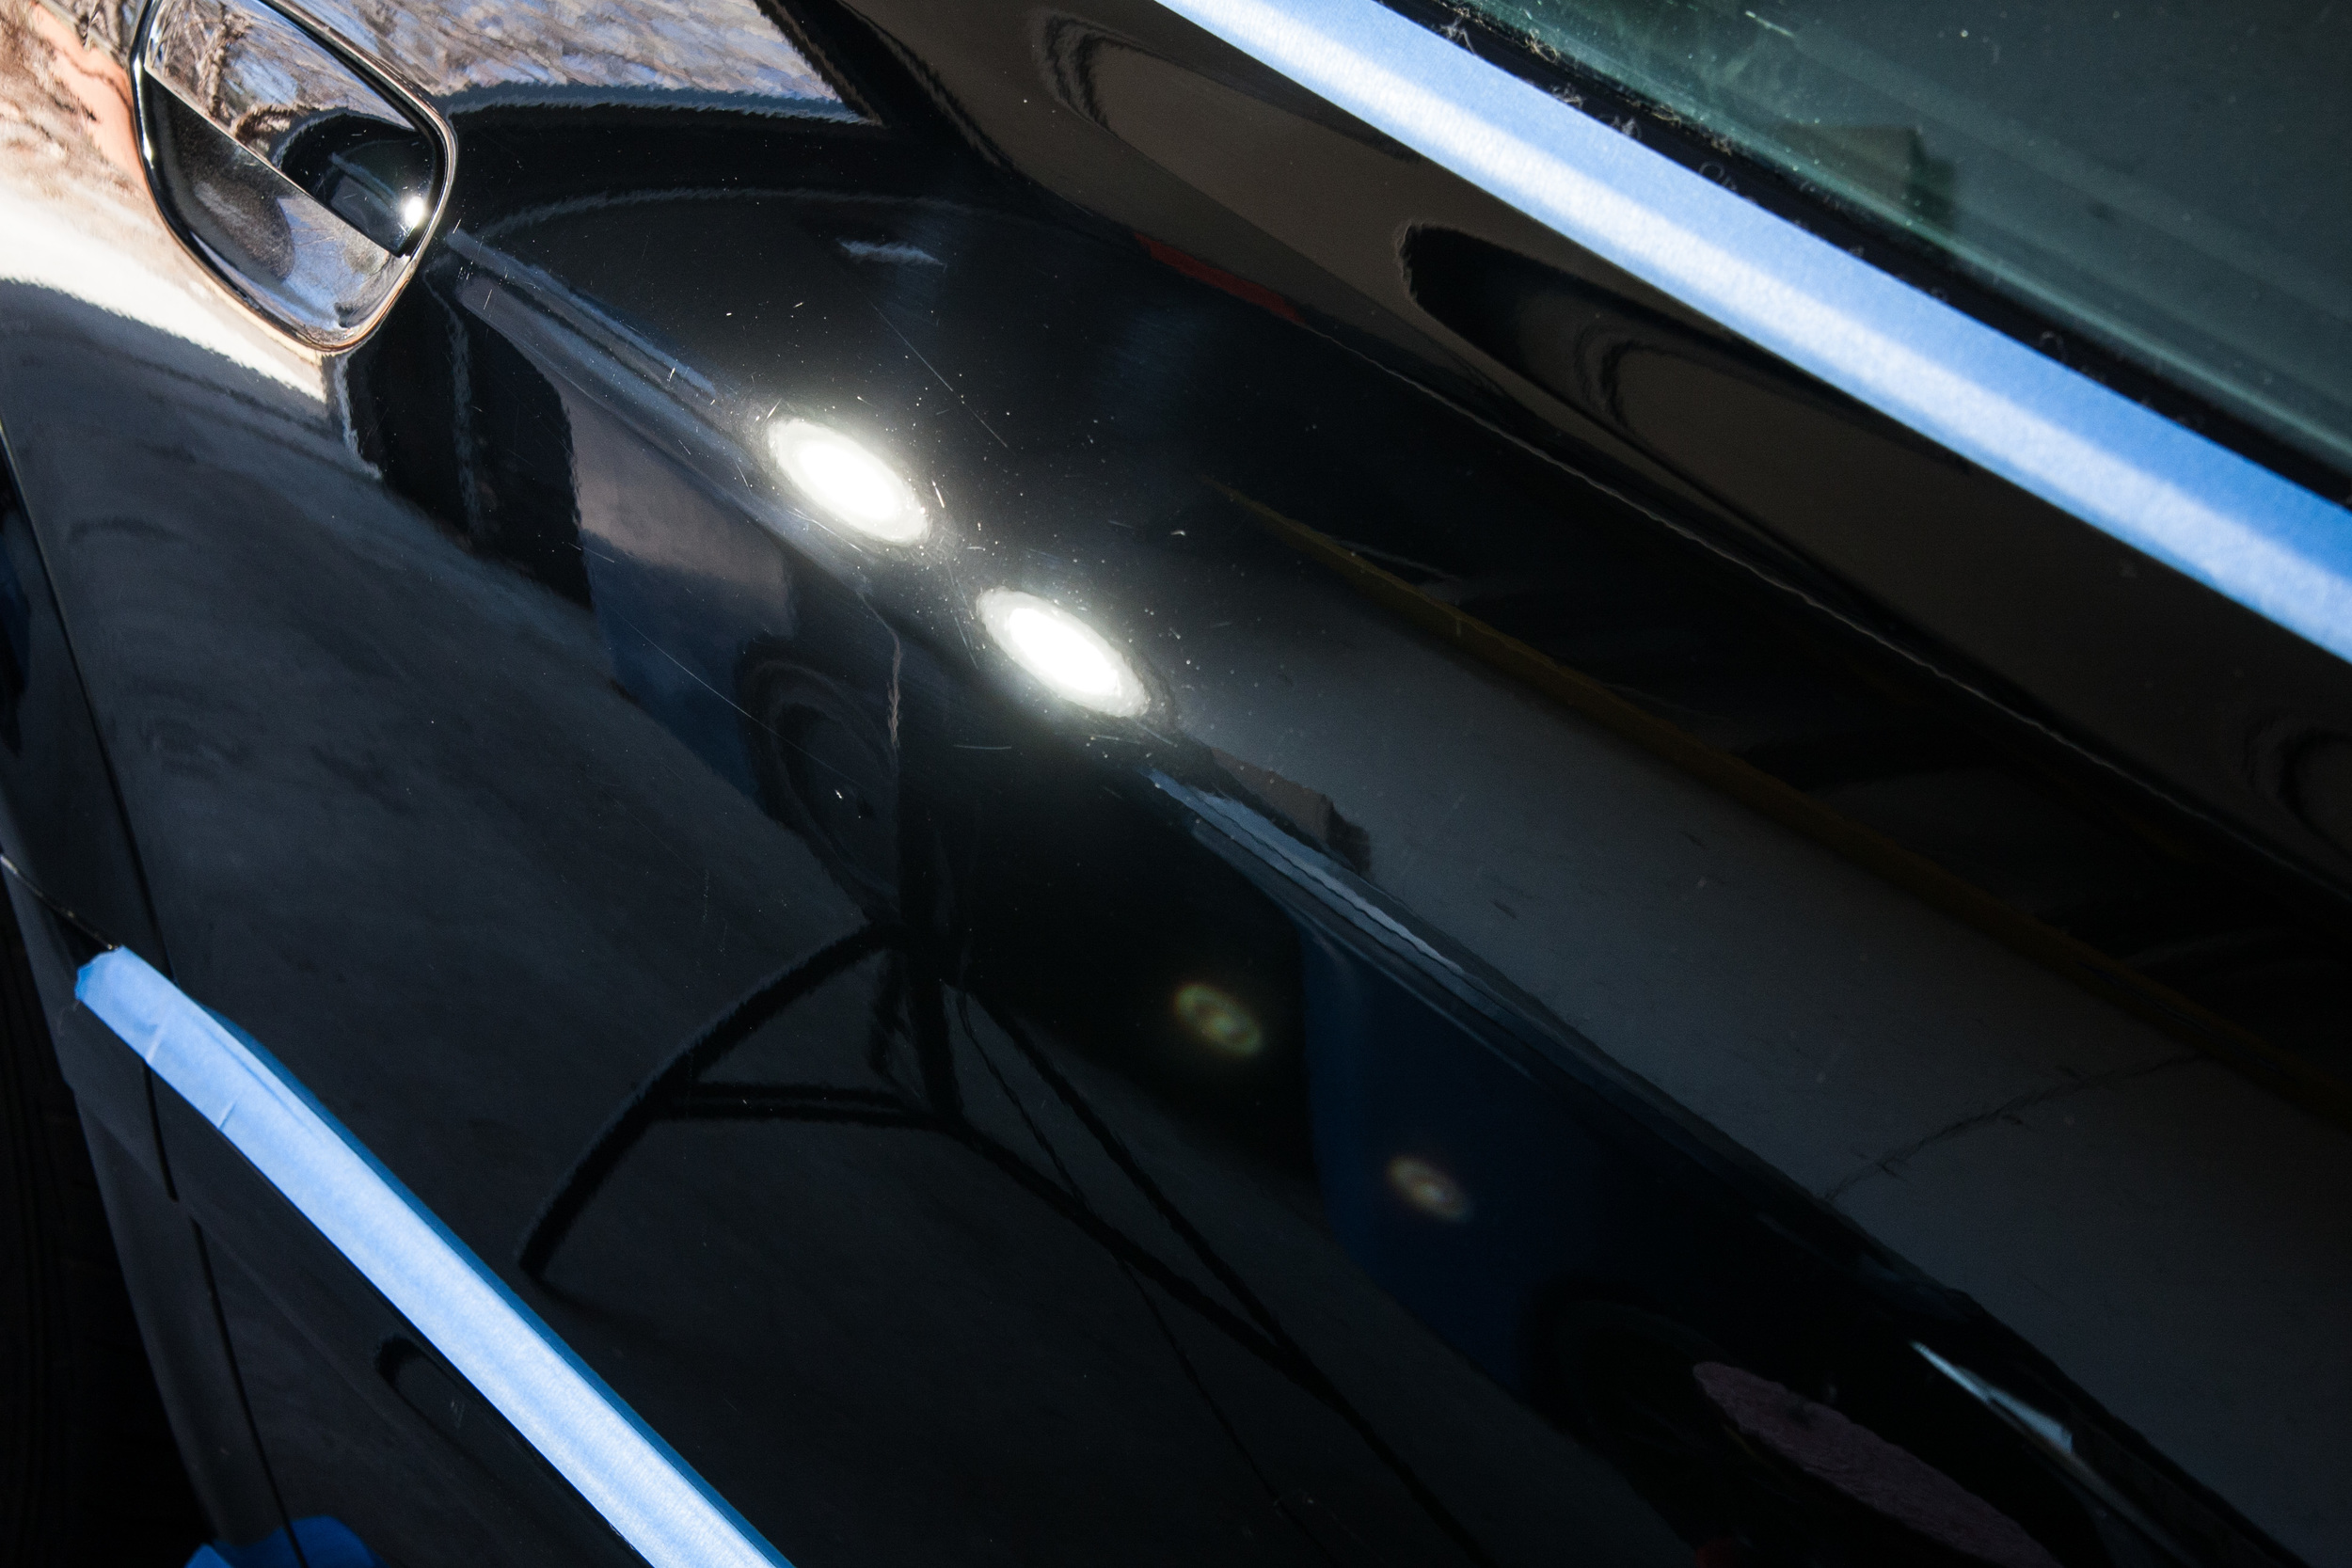
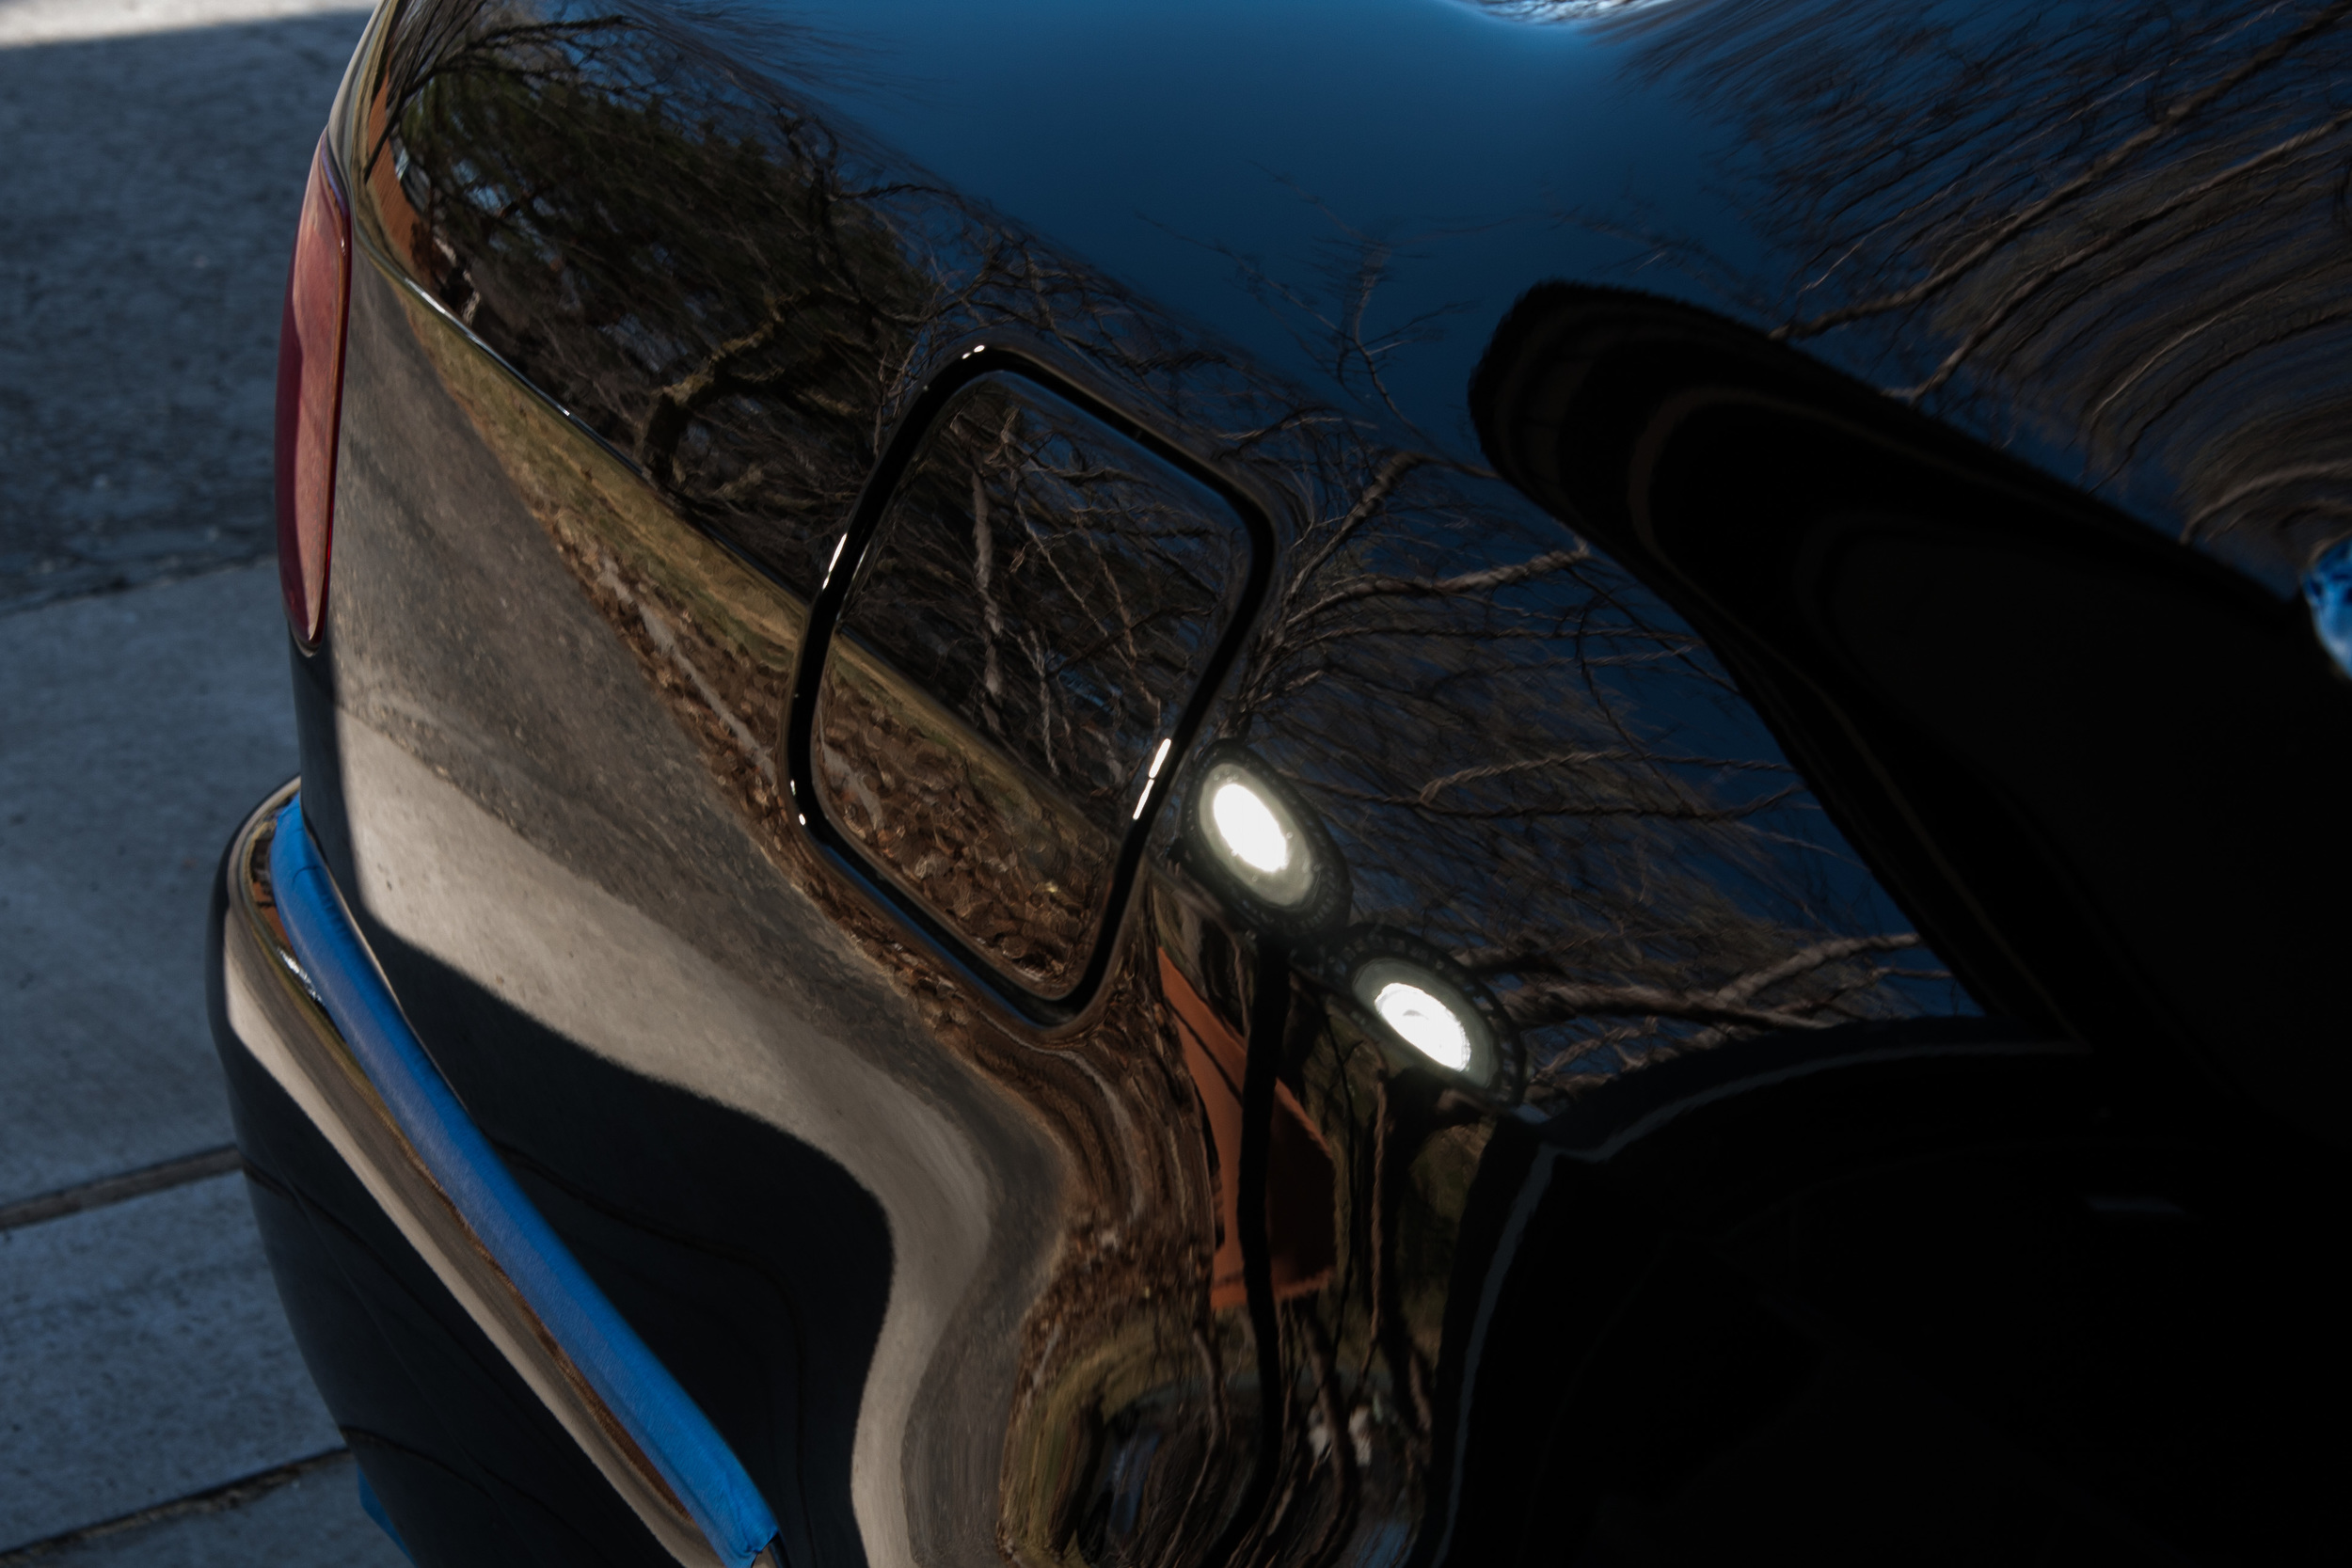
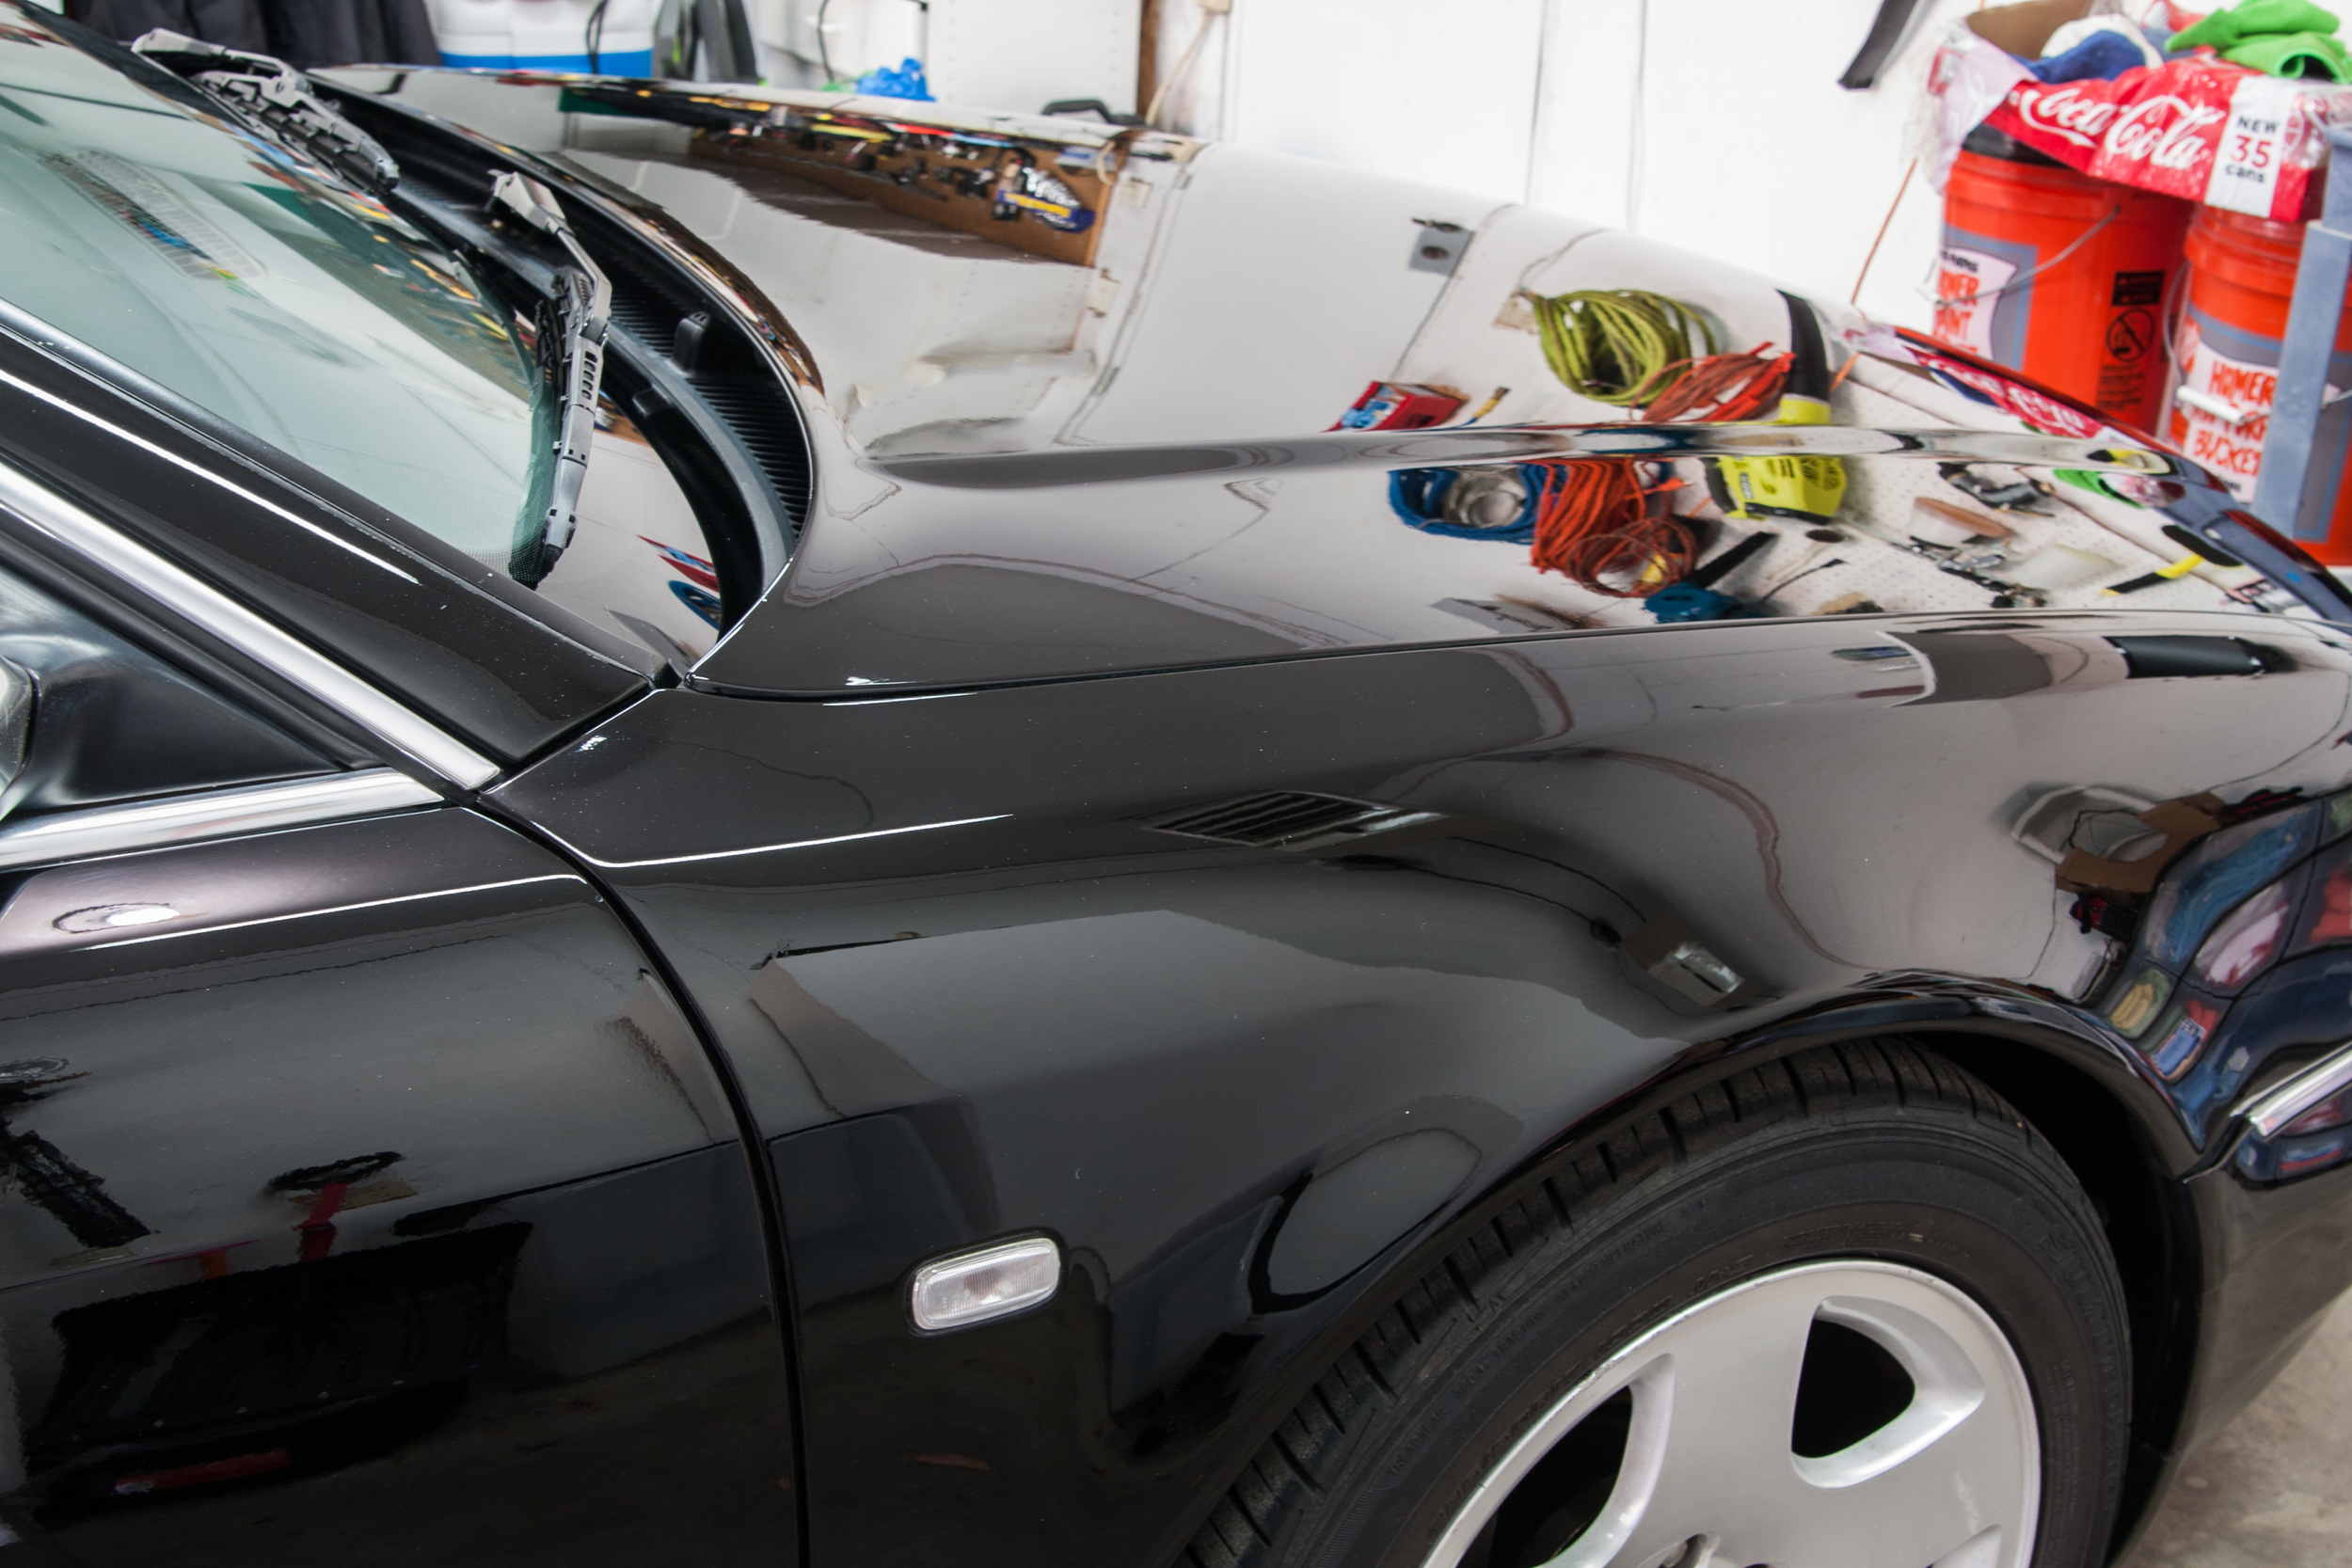
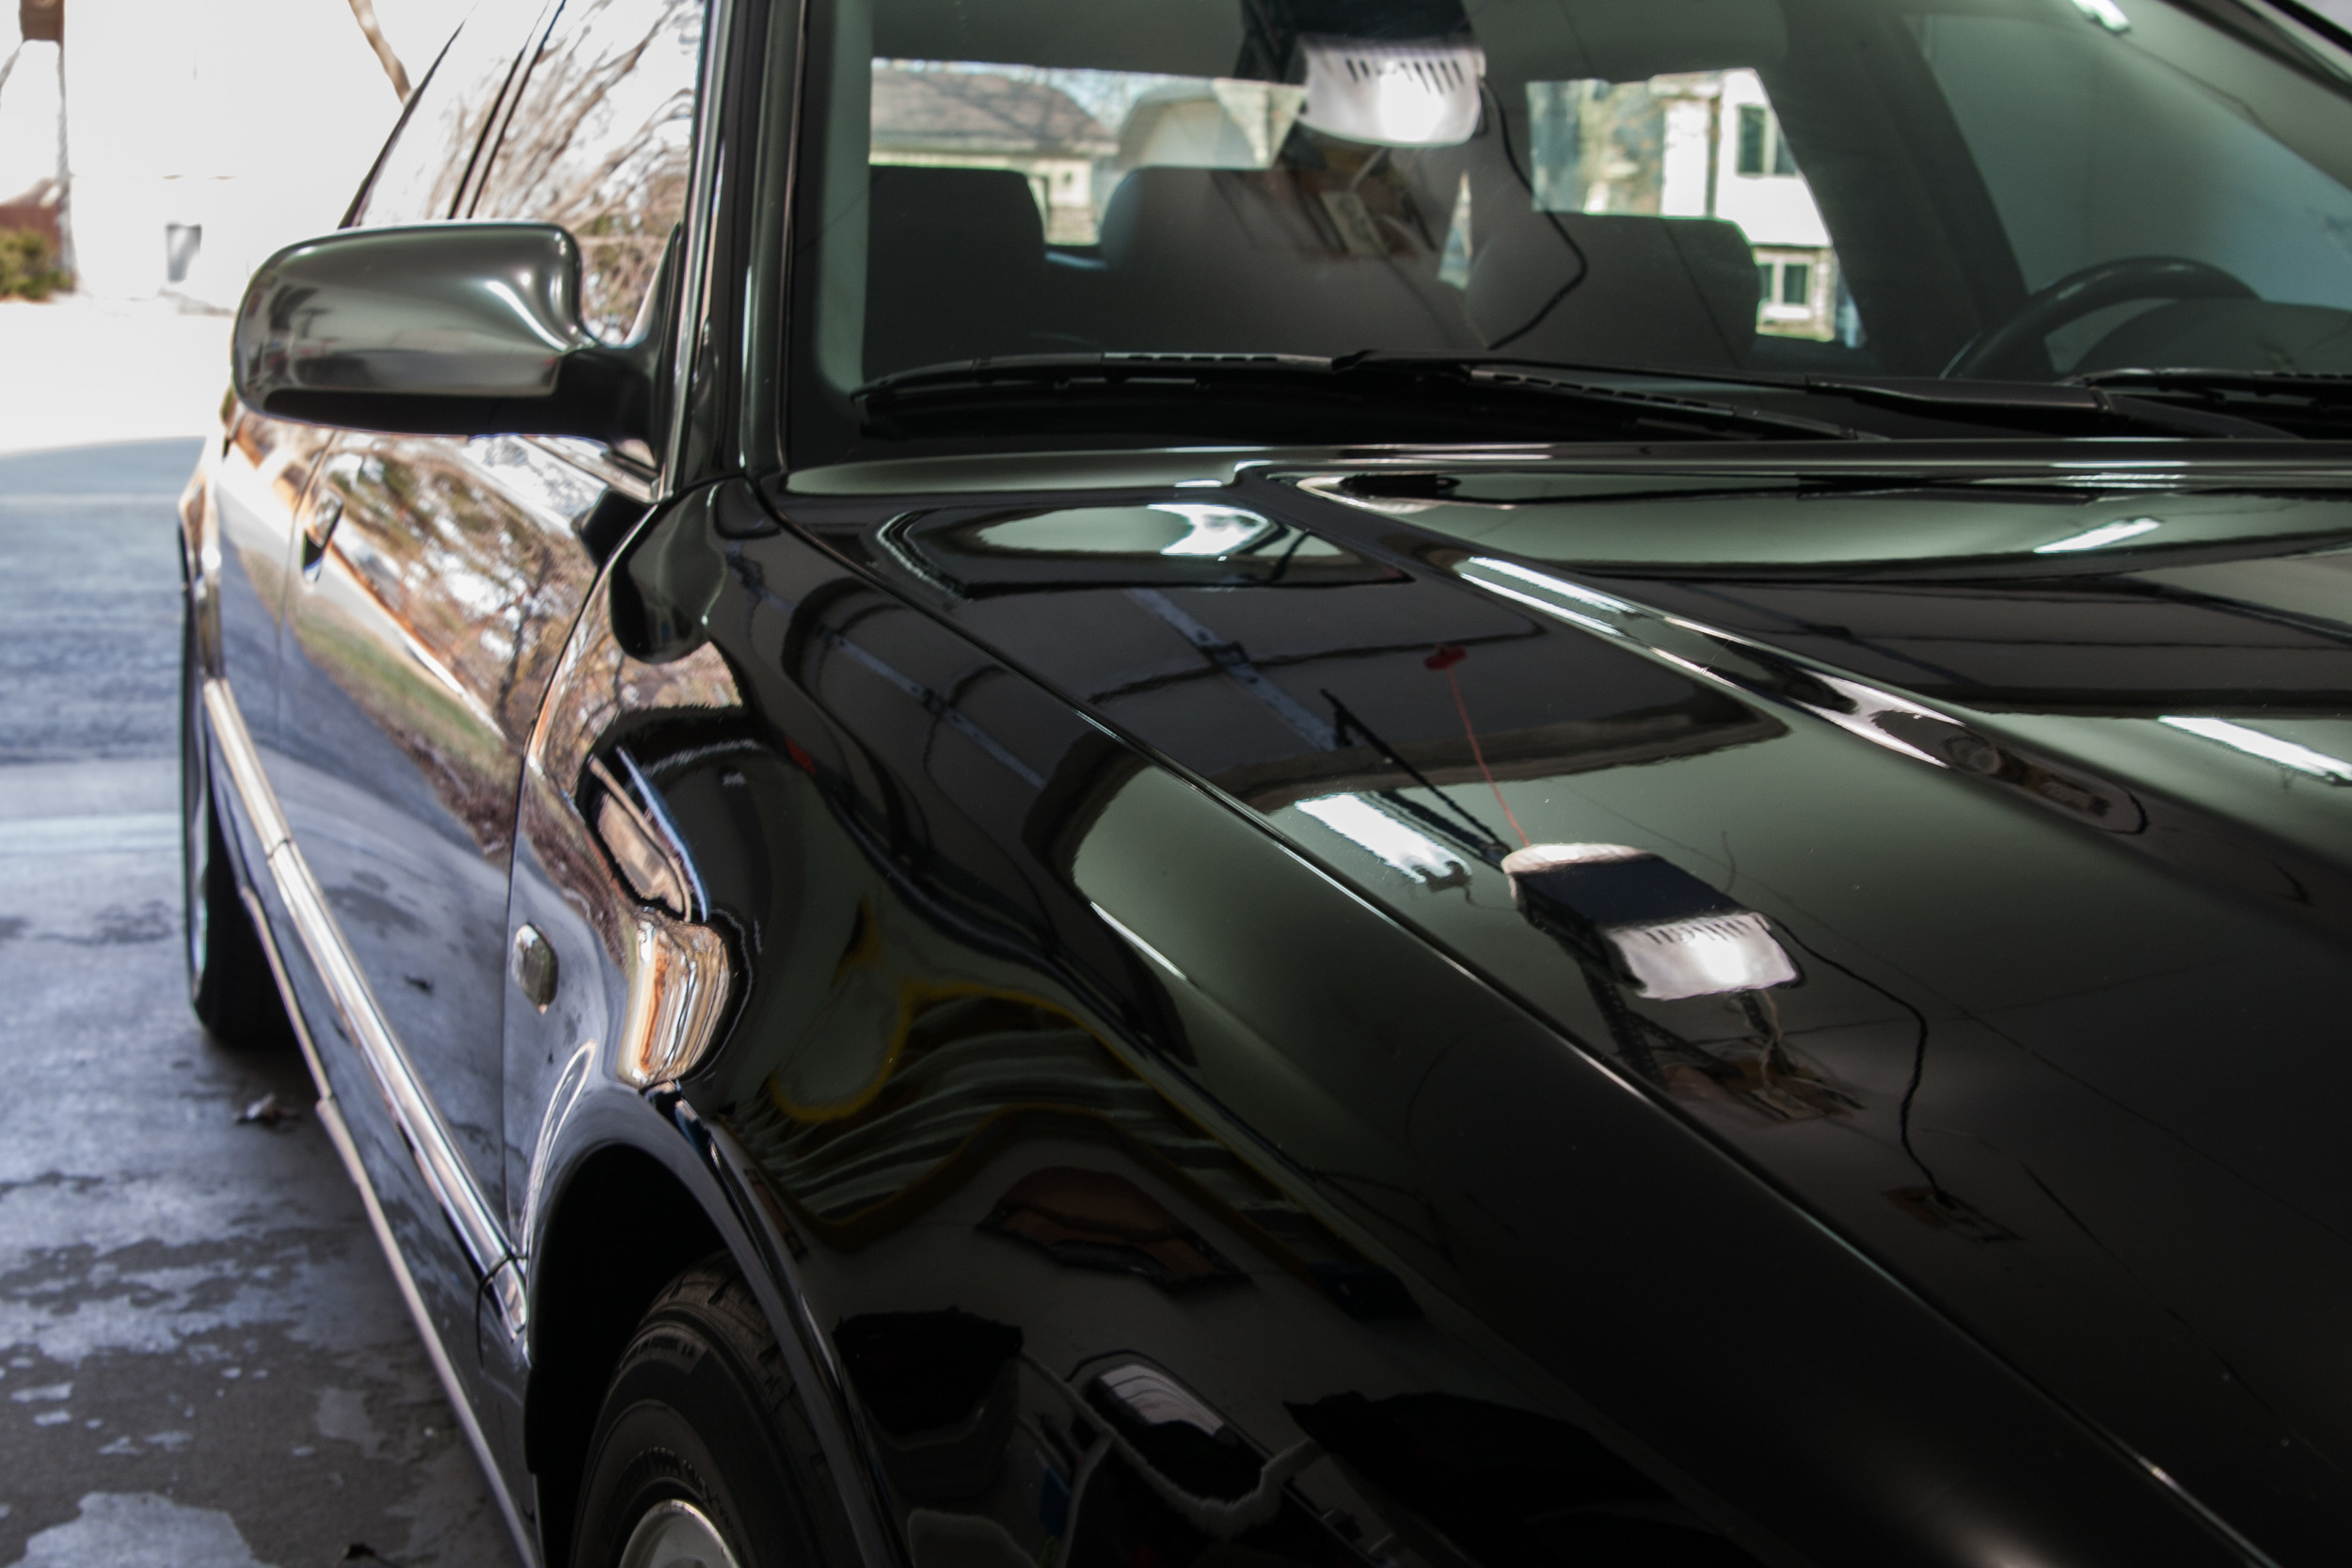
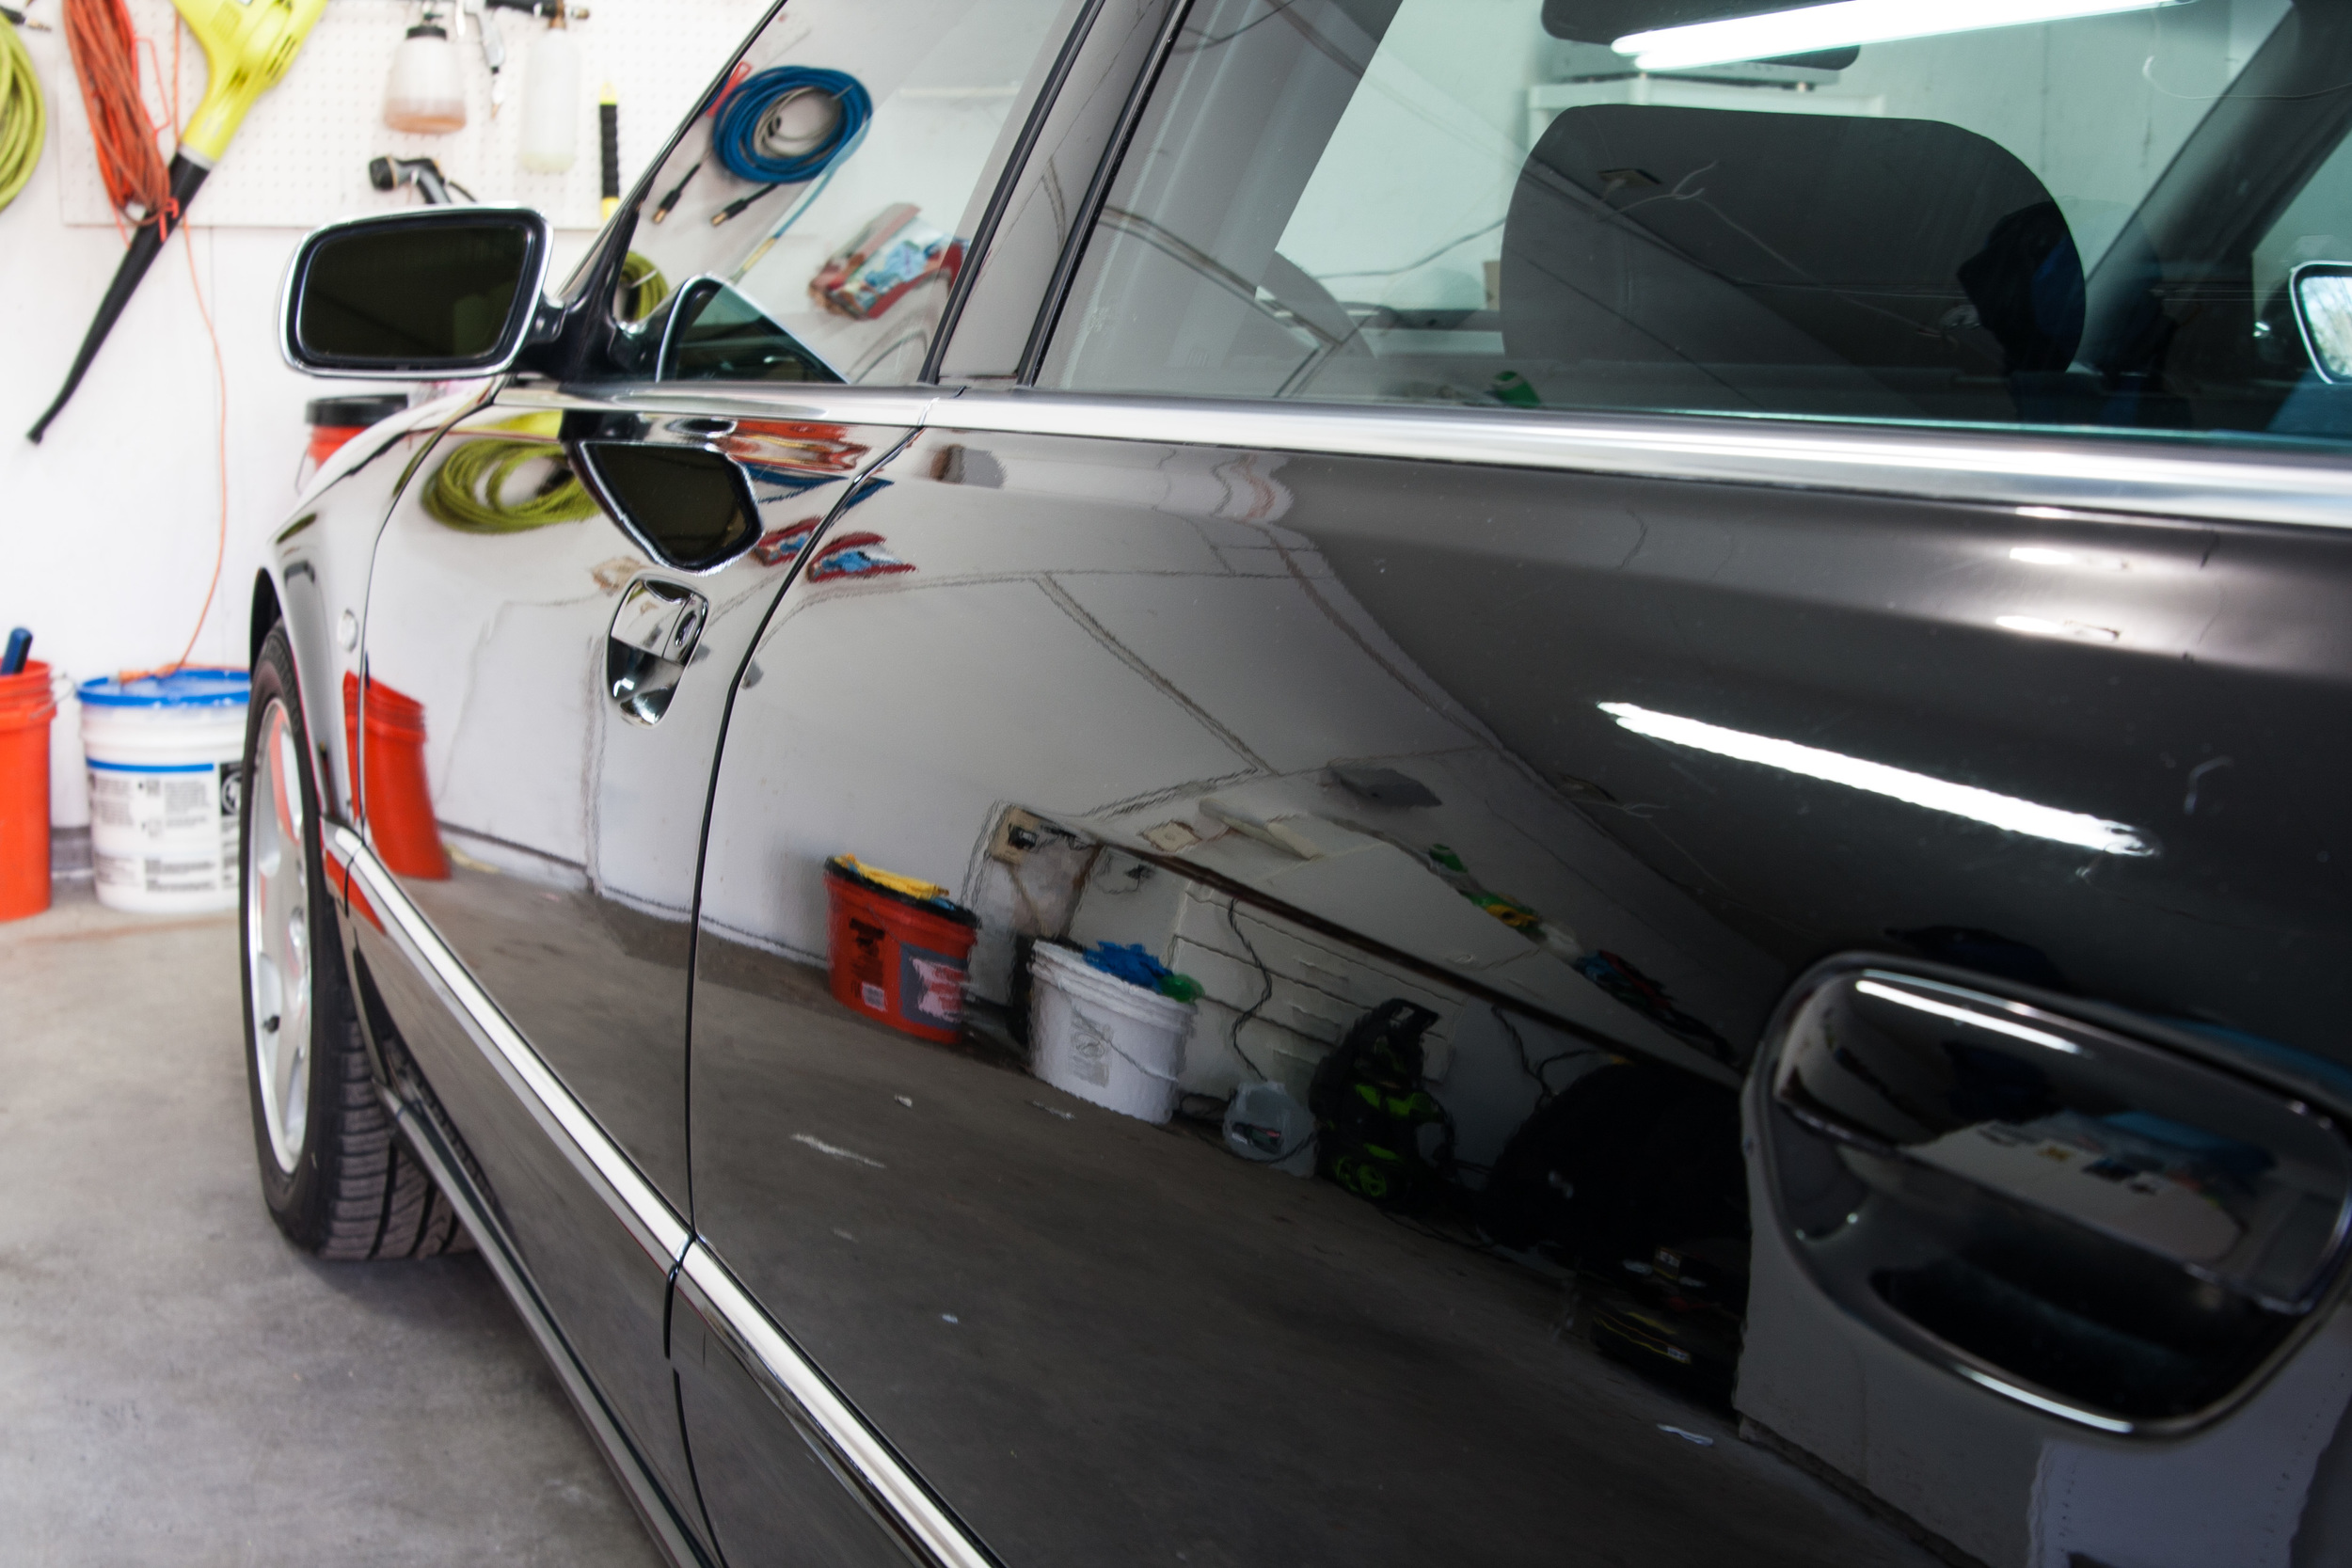
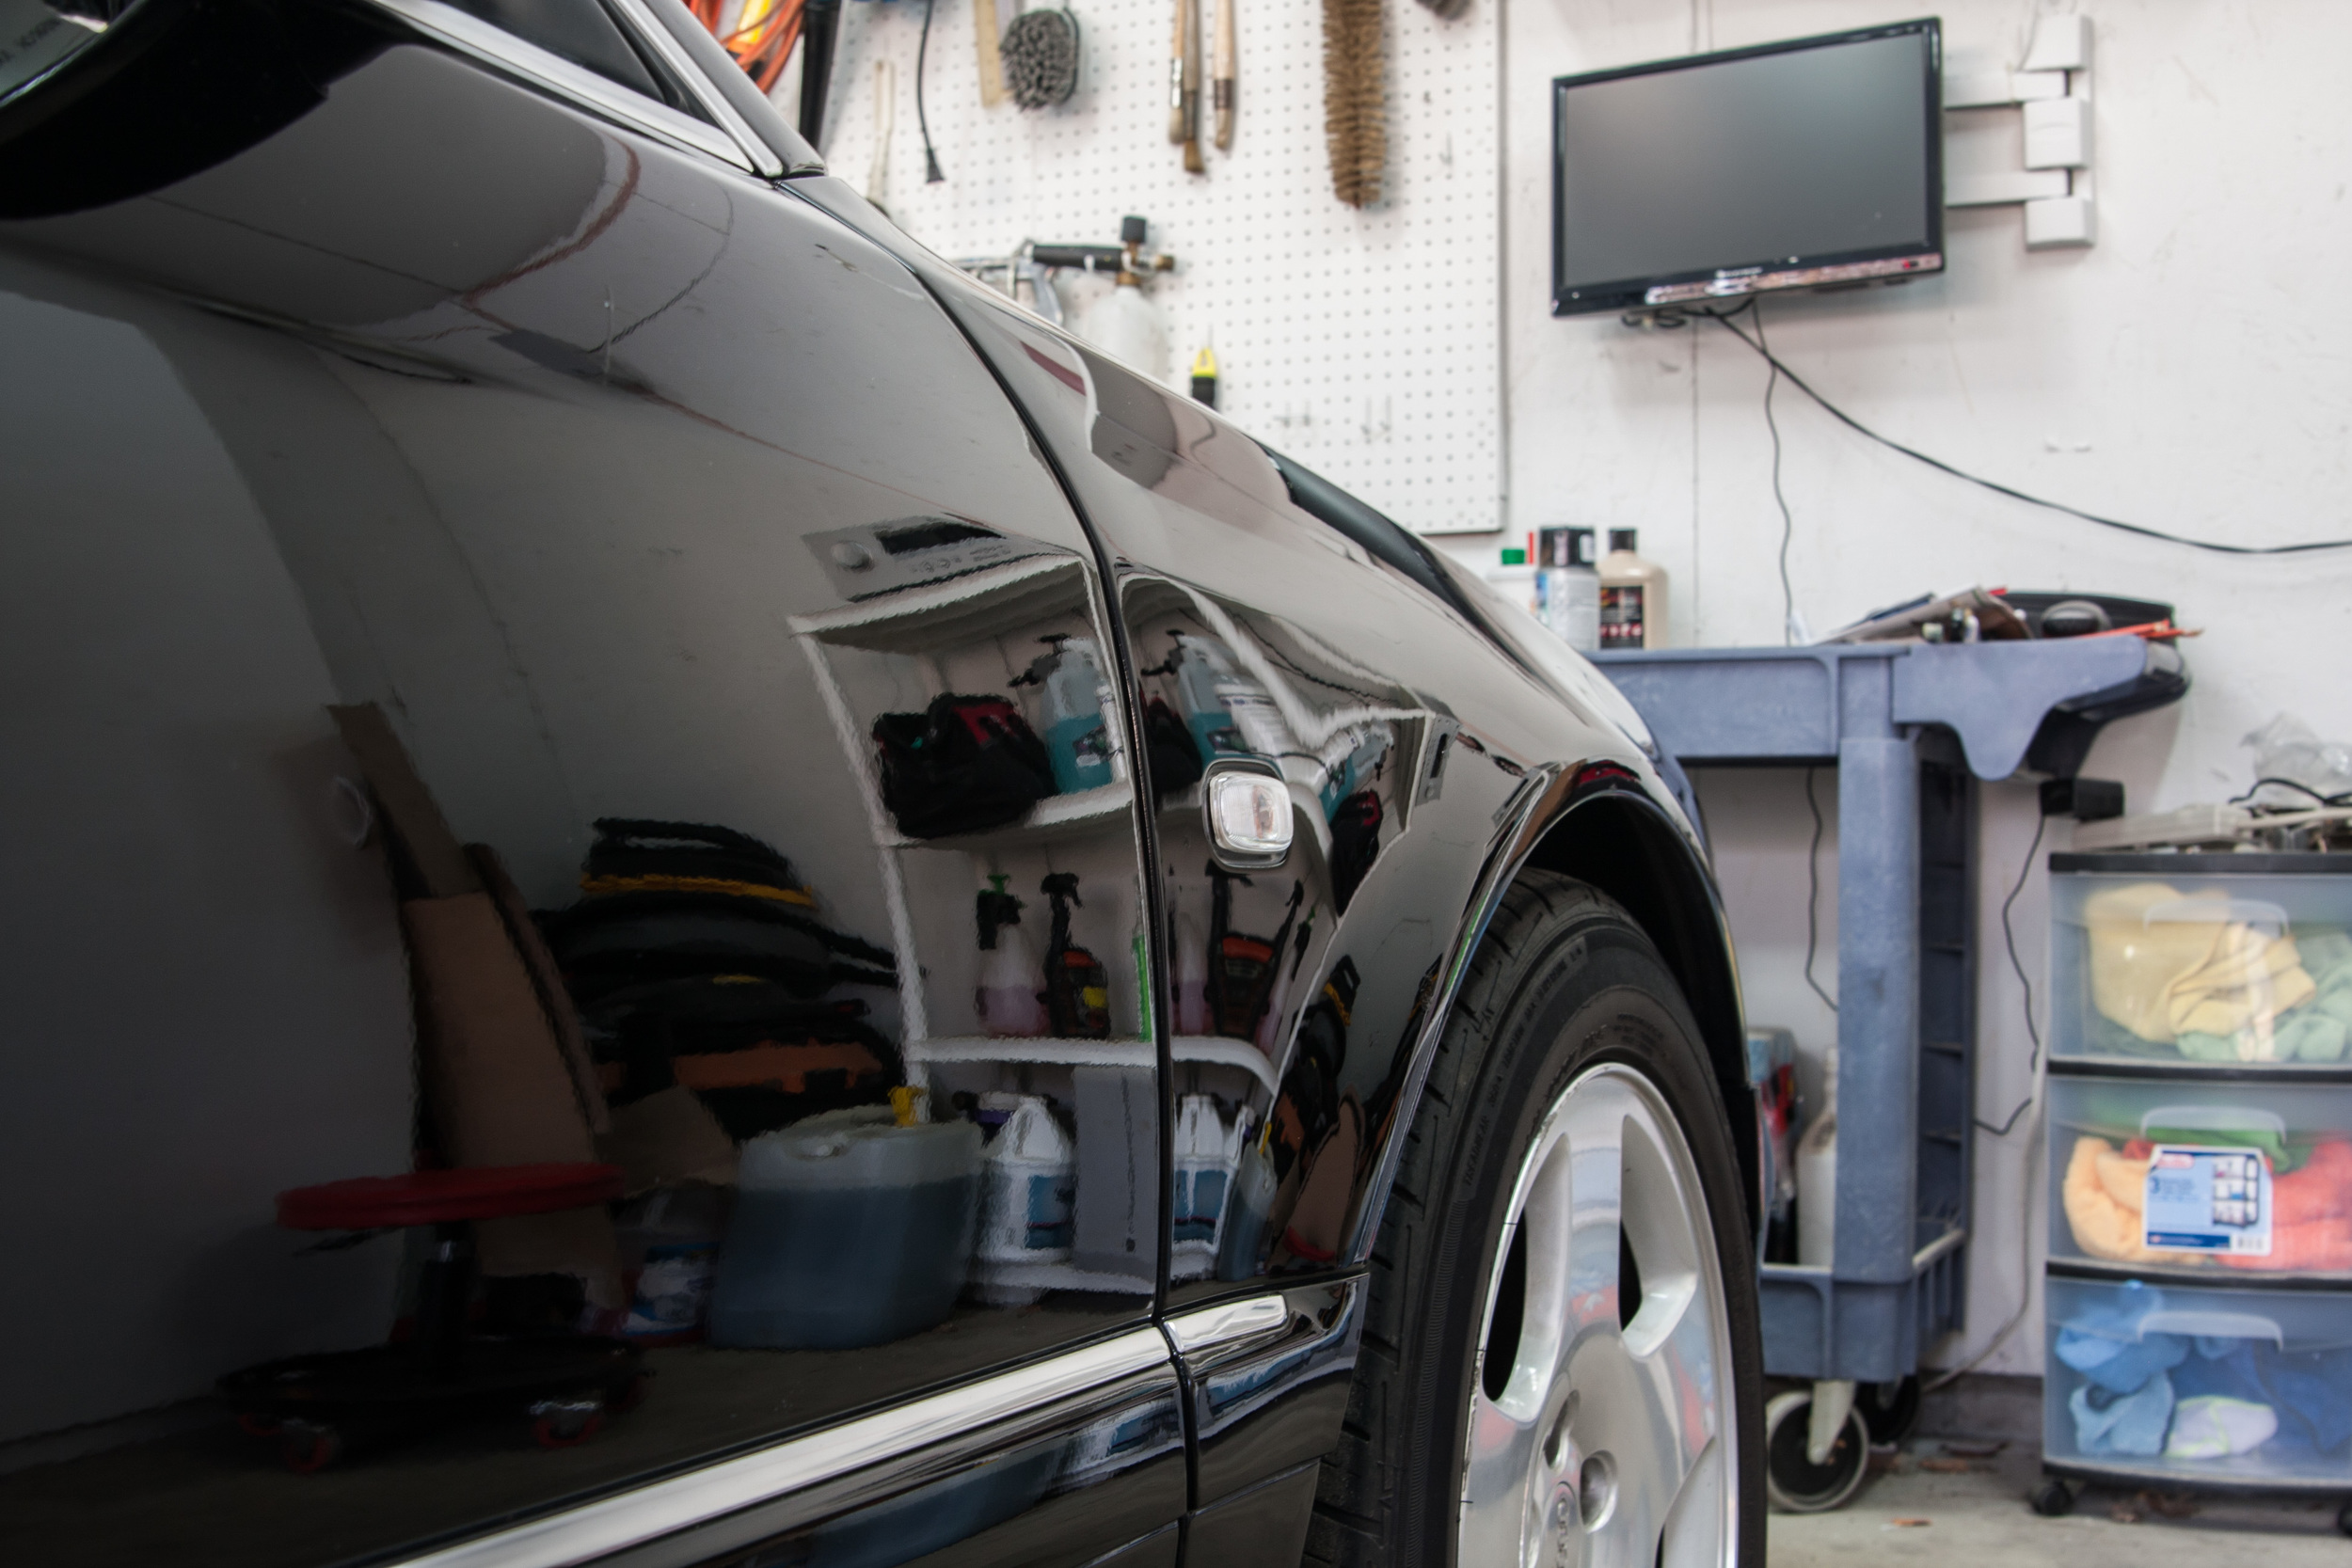
Frequently on discussion forum and facebook groups you'll find someone interested in correcting their own car and asking for advice on products.  Often they'll say they saw a video of a paint correction and figured they could do the same.  Sometimes, they'll mention they watched hours of videos and feel prepared to do the work.  Having that base knowledge of how to do a test spot, how to identify defects and choose products and equipment is important.  But, in my opinion, the critical piece overlooked by many beginners is the human element.  Thinking you can replicate what someone does in a video and get the same results is a recipe for disappointment.  What videos fail to capture is the human element involved in paint correction.  

There are many factors involved in paint correction that are a direct function of only the detailer.  Some of the major factors are listed below.

  • Sections size
  • Number of passes
  • Pressure
  • Machine speed
  • Arm speed
  • Angle of attack

These are all variable controlled by the user in the moment.  Small changes here can have a dramatic affect on your results.  We'll go into some detail on each below.

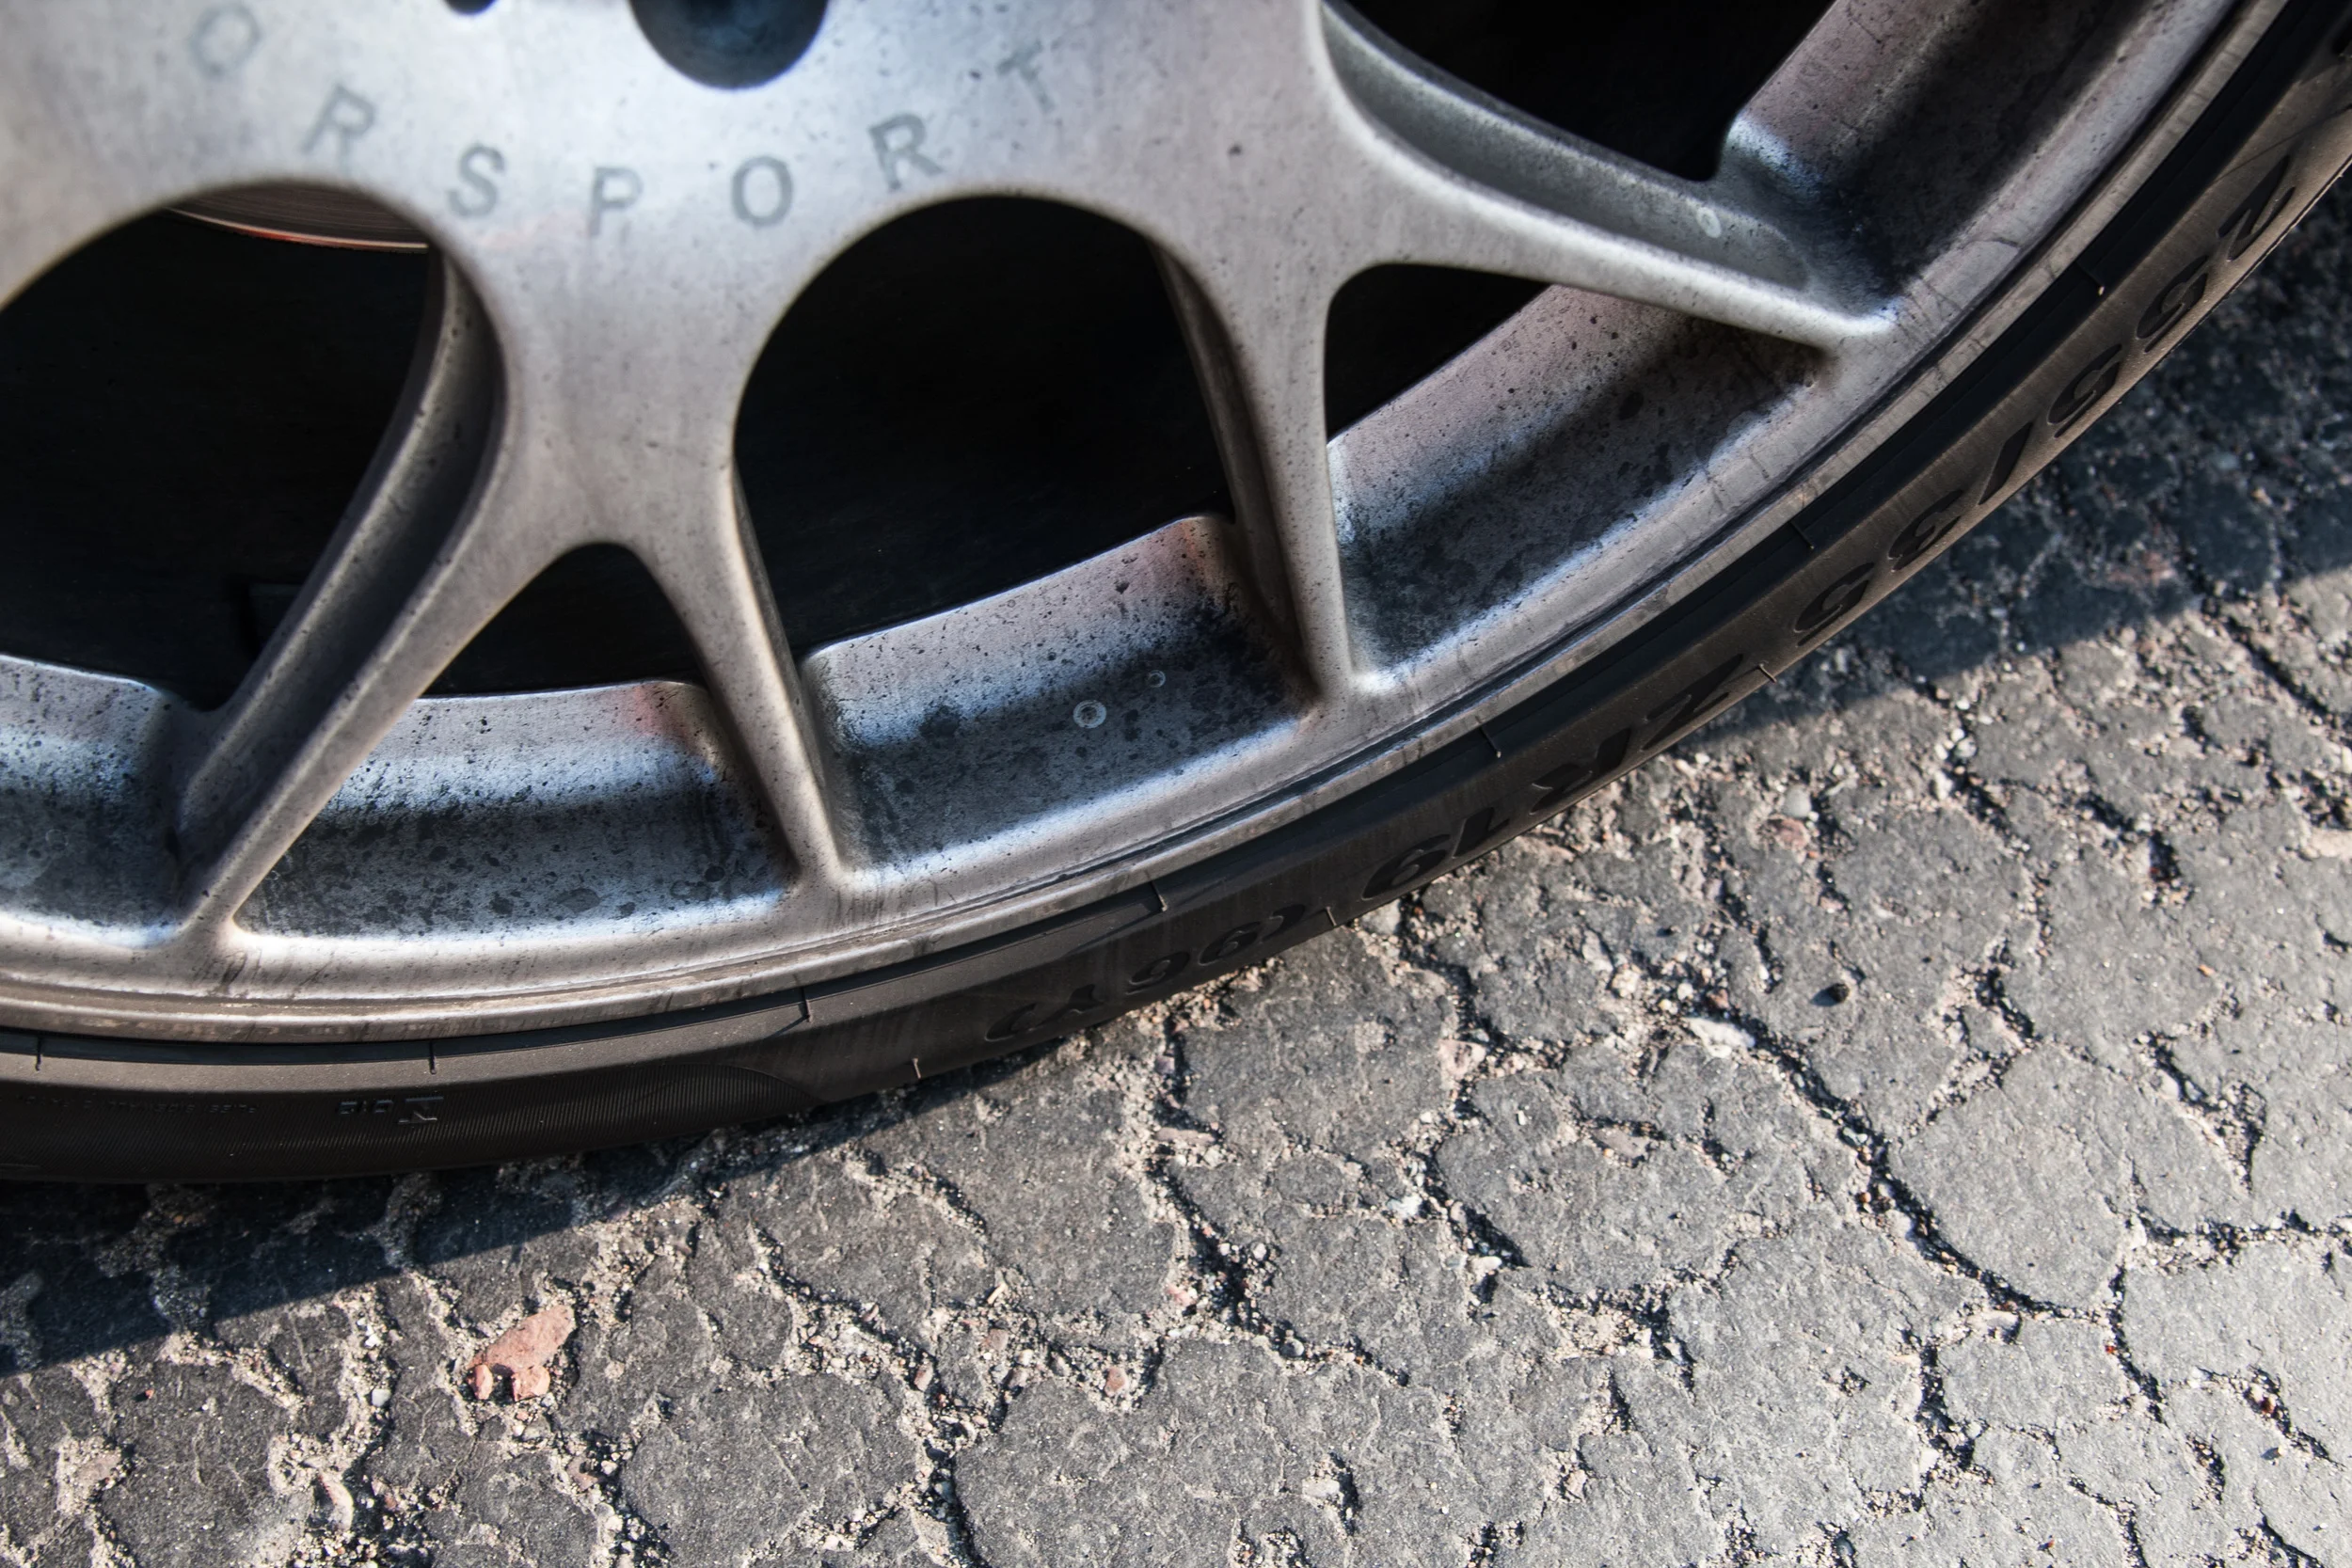
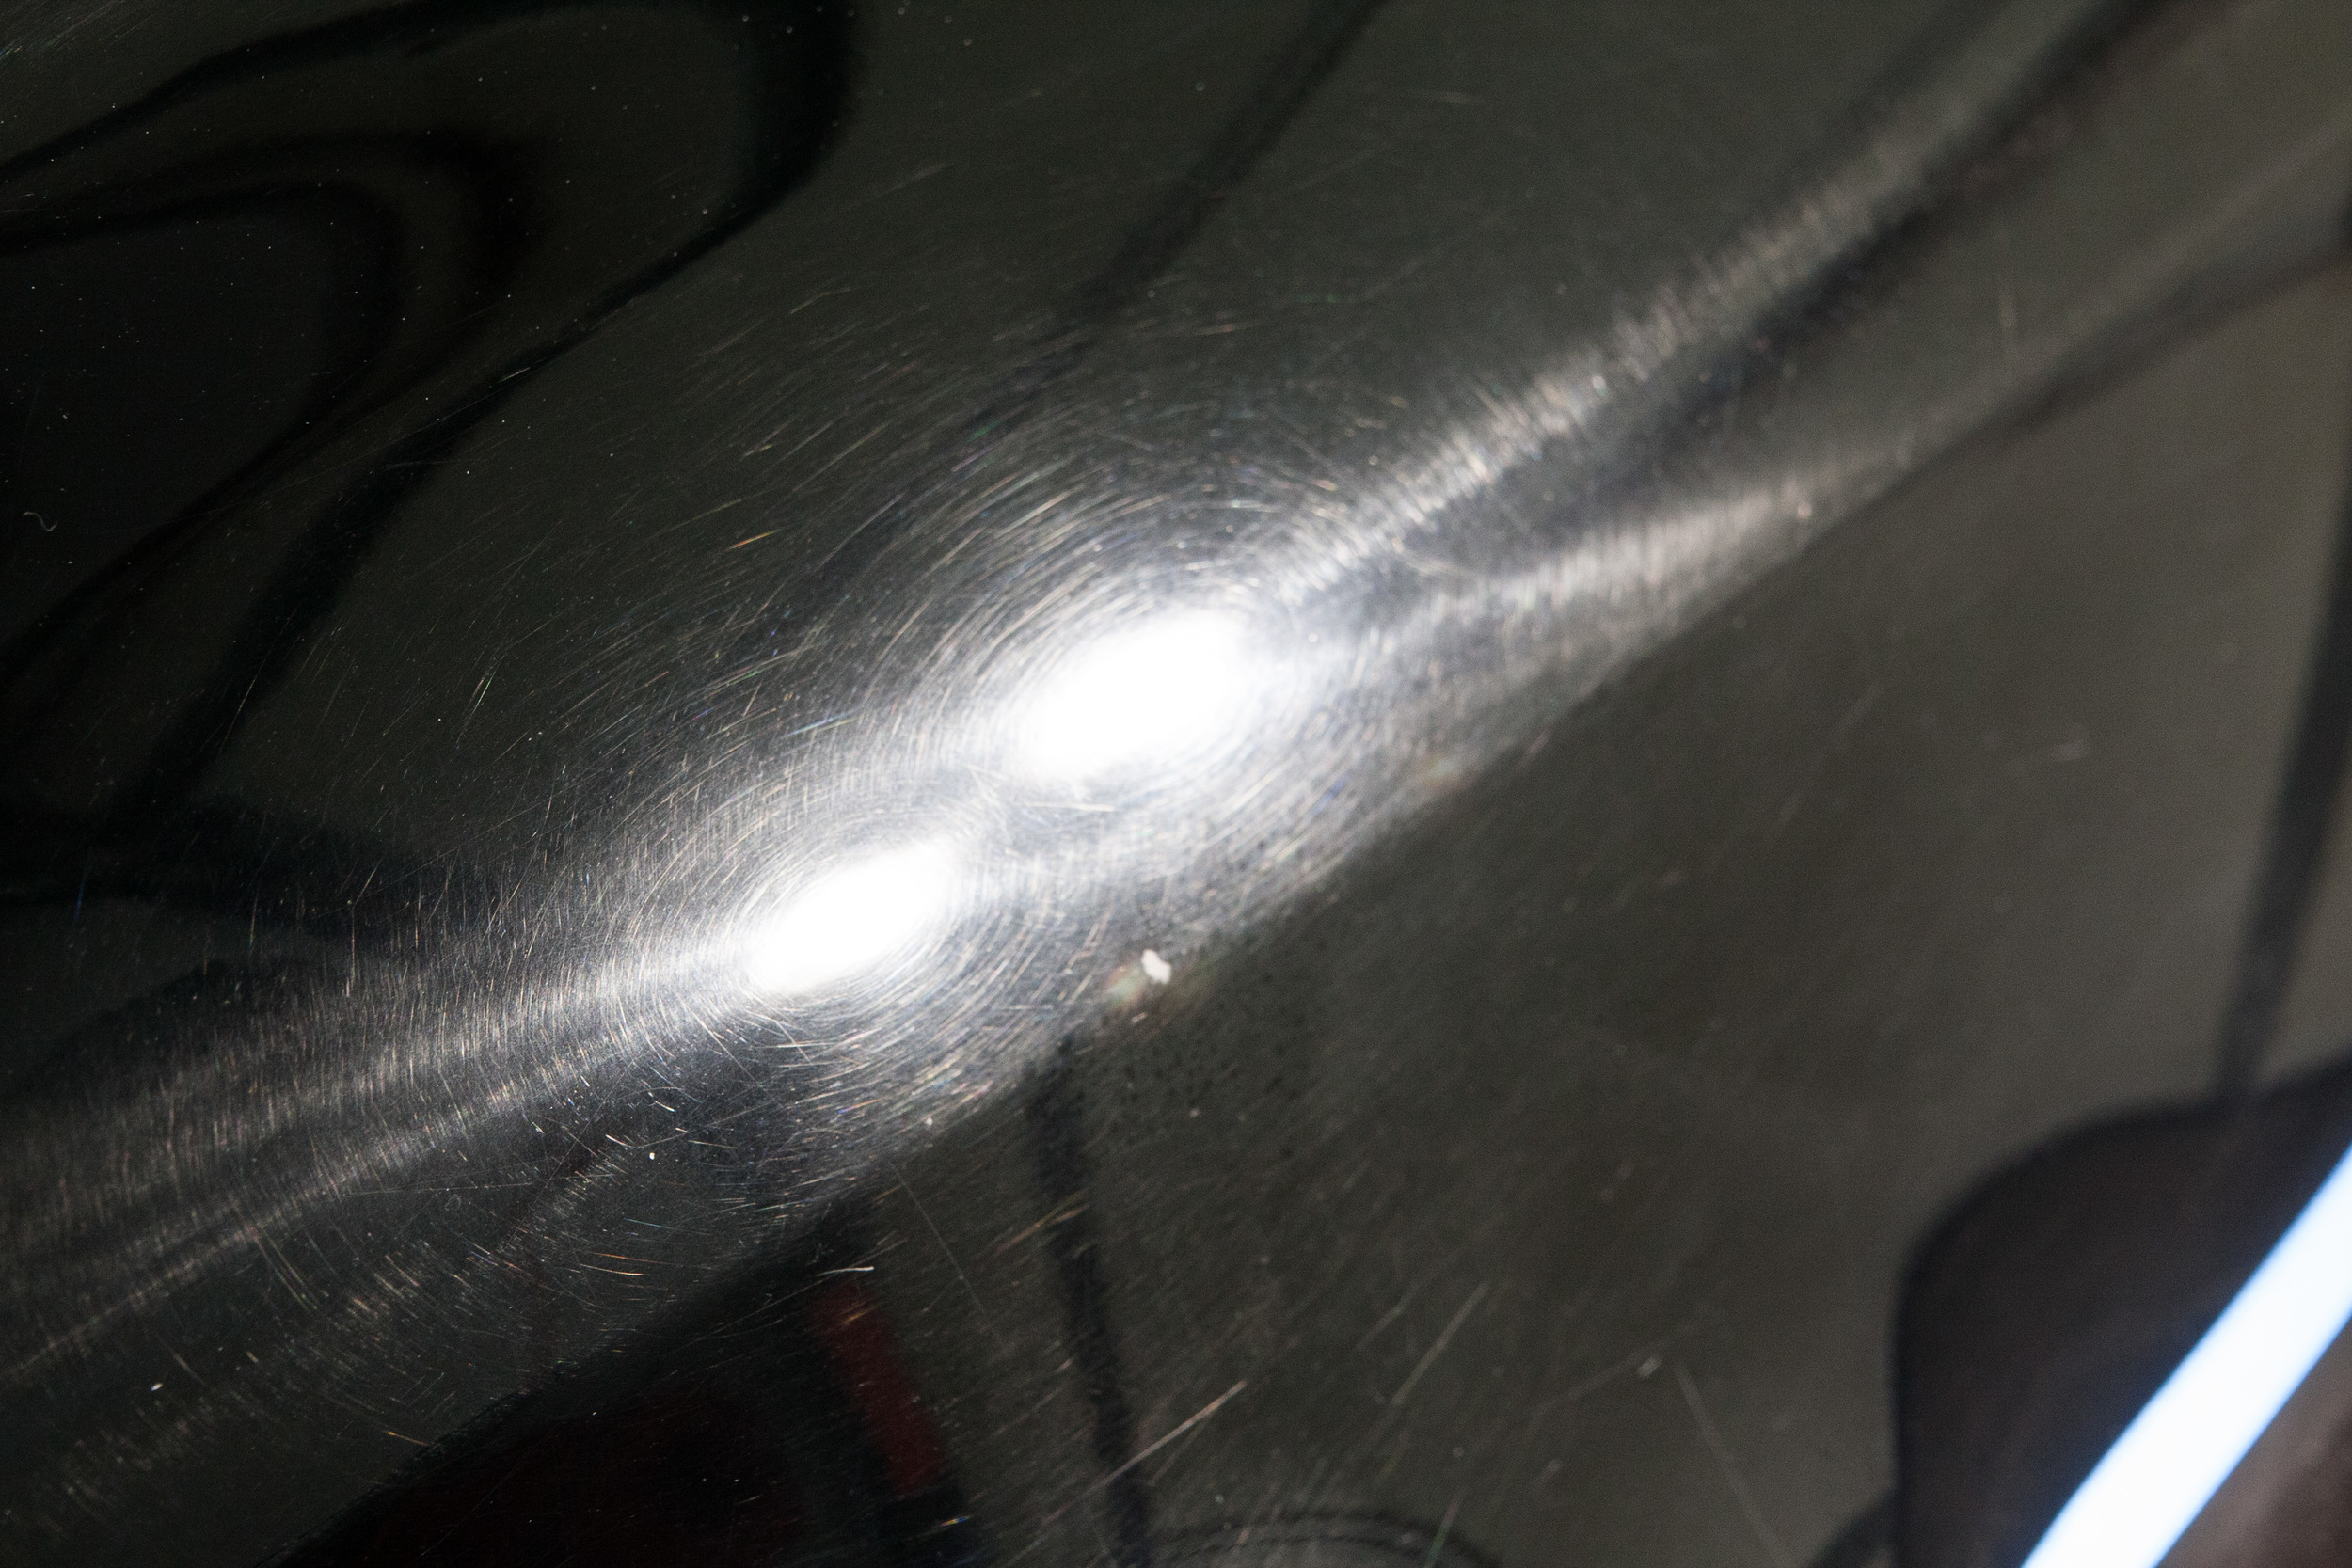
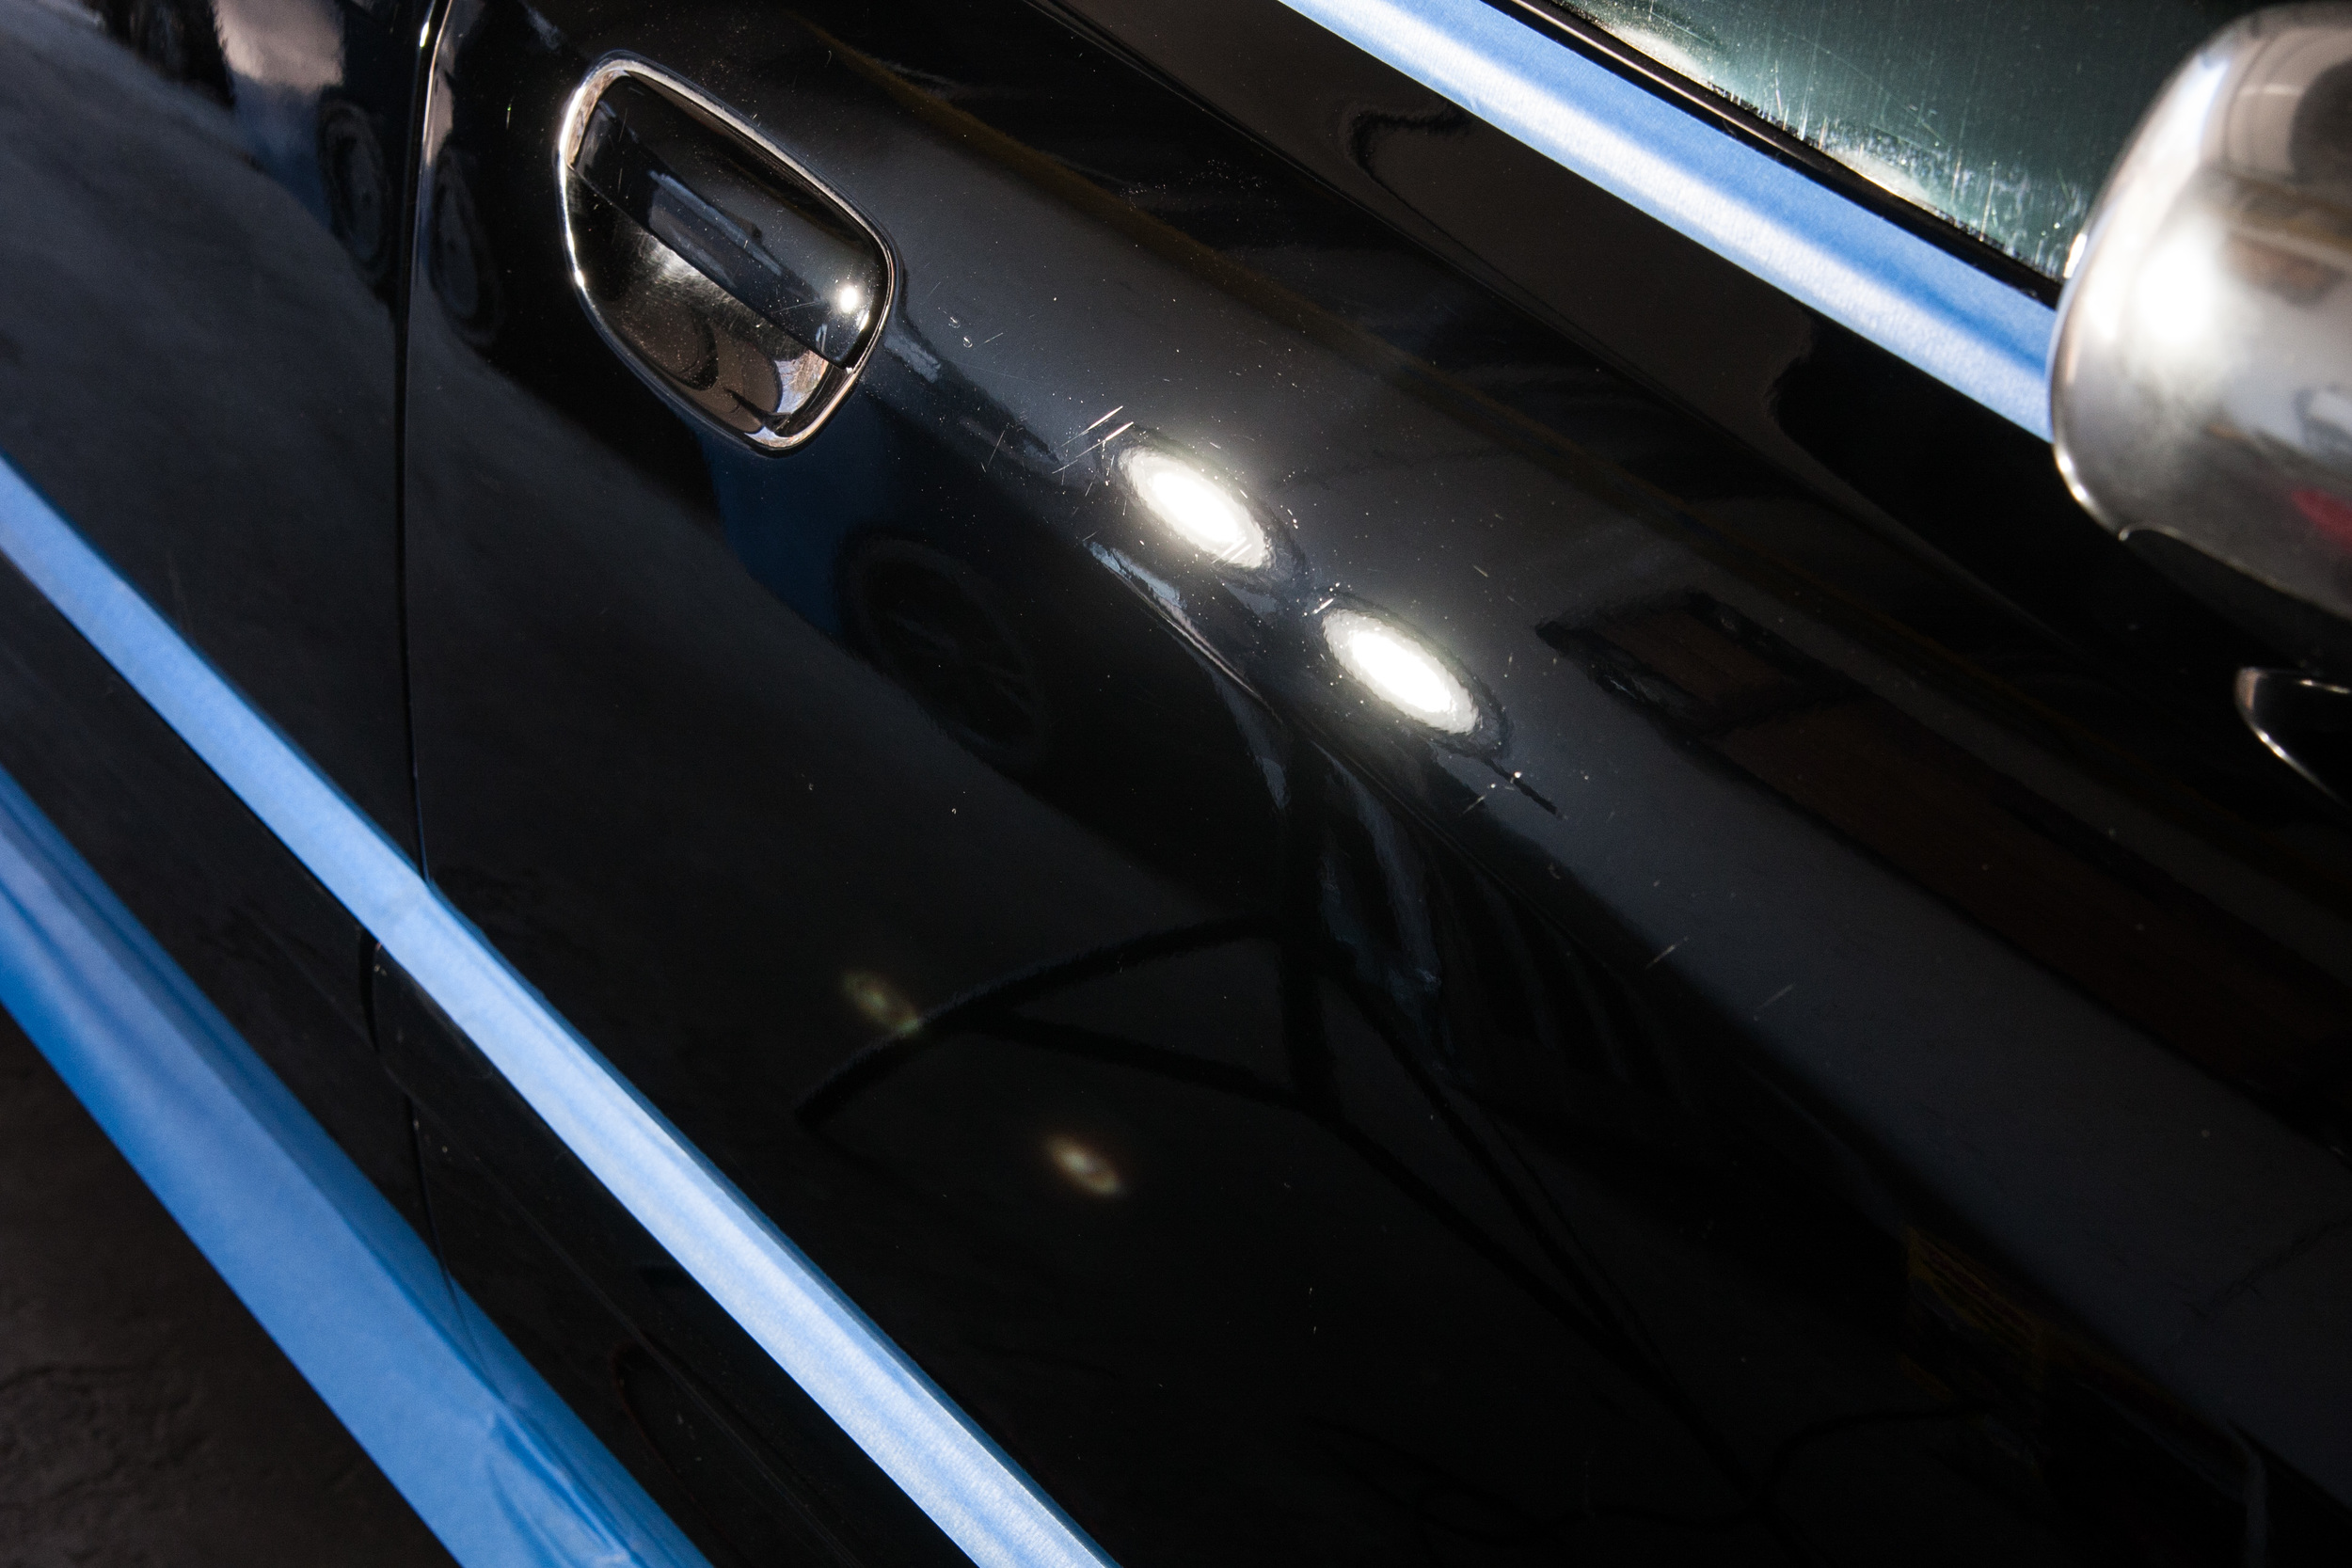
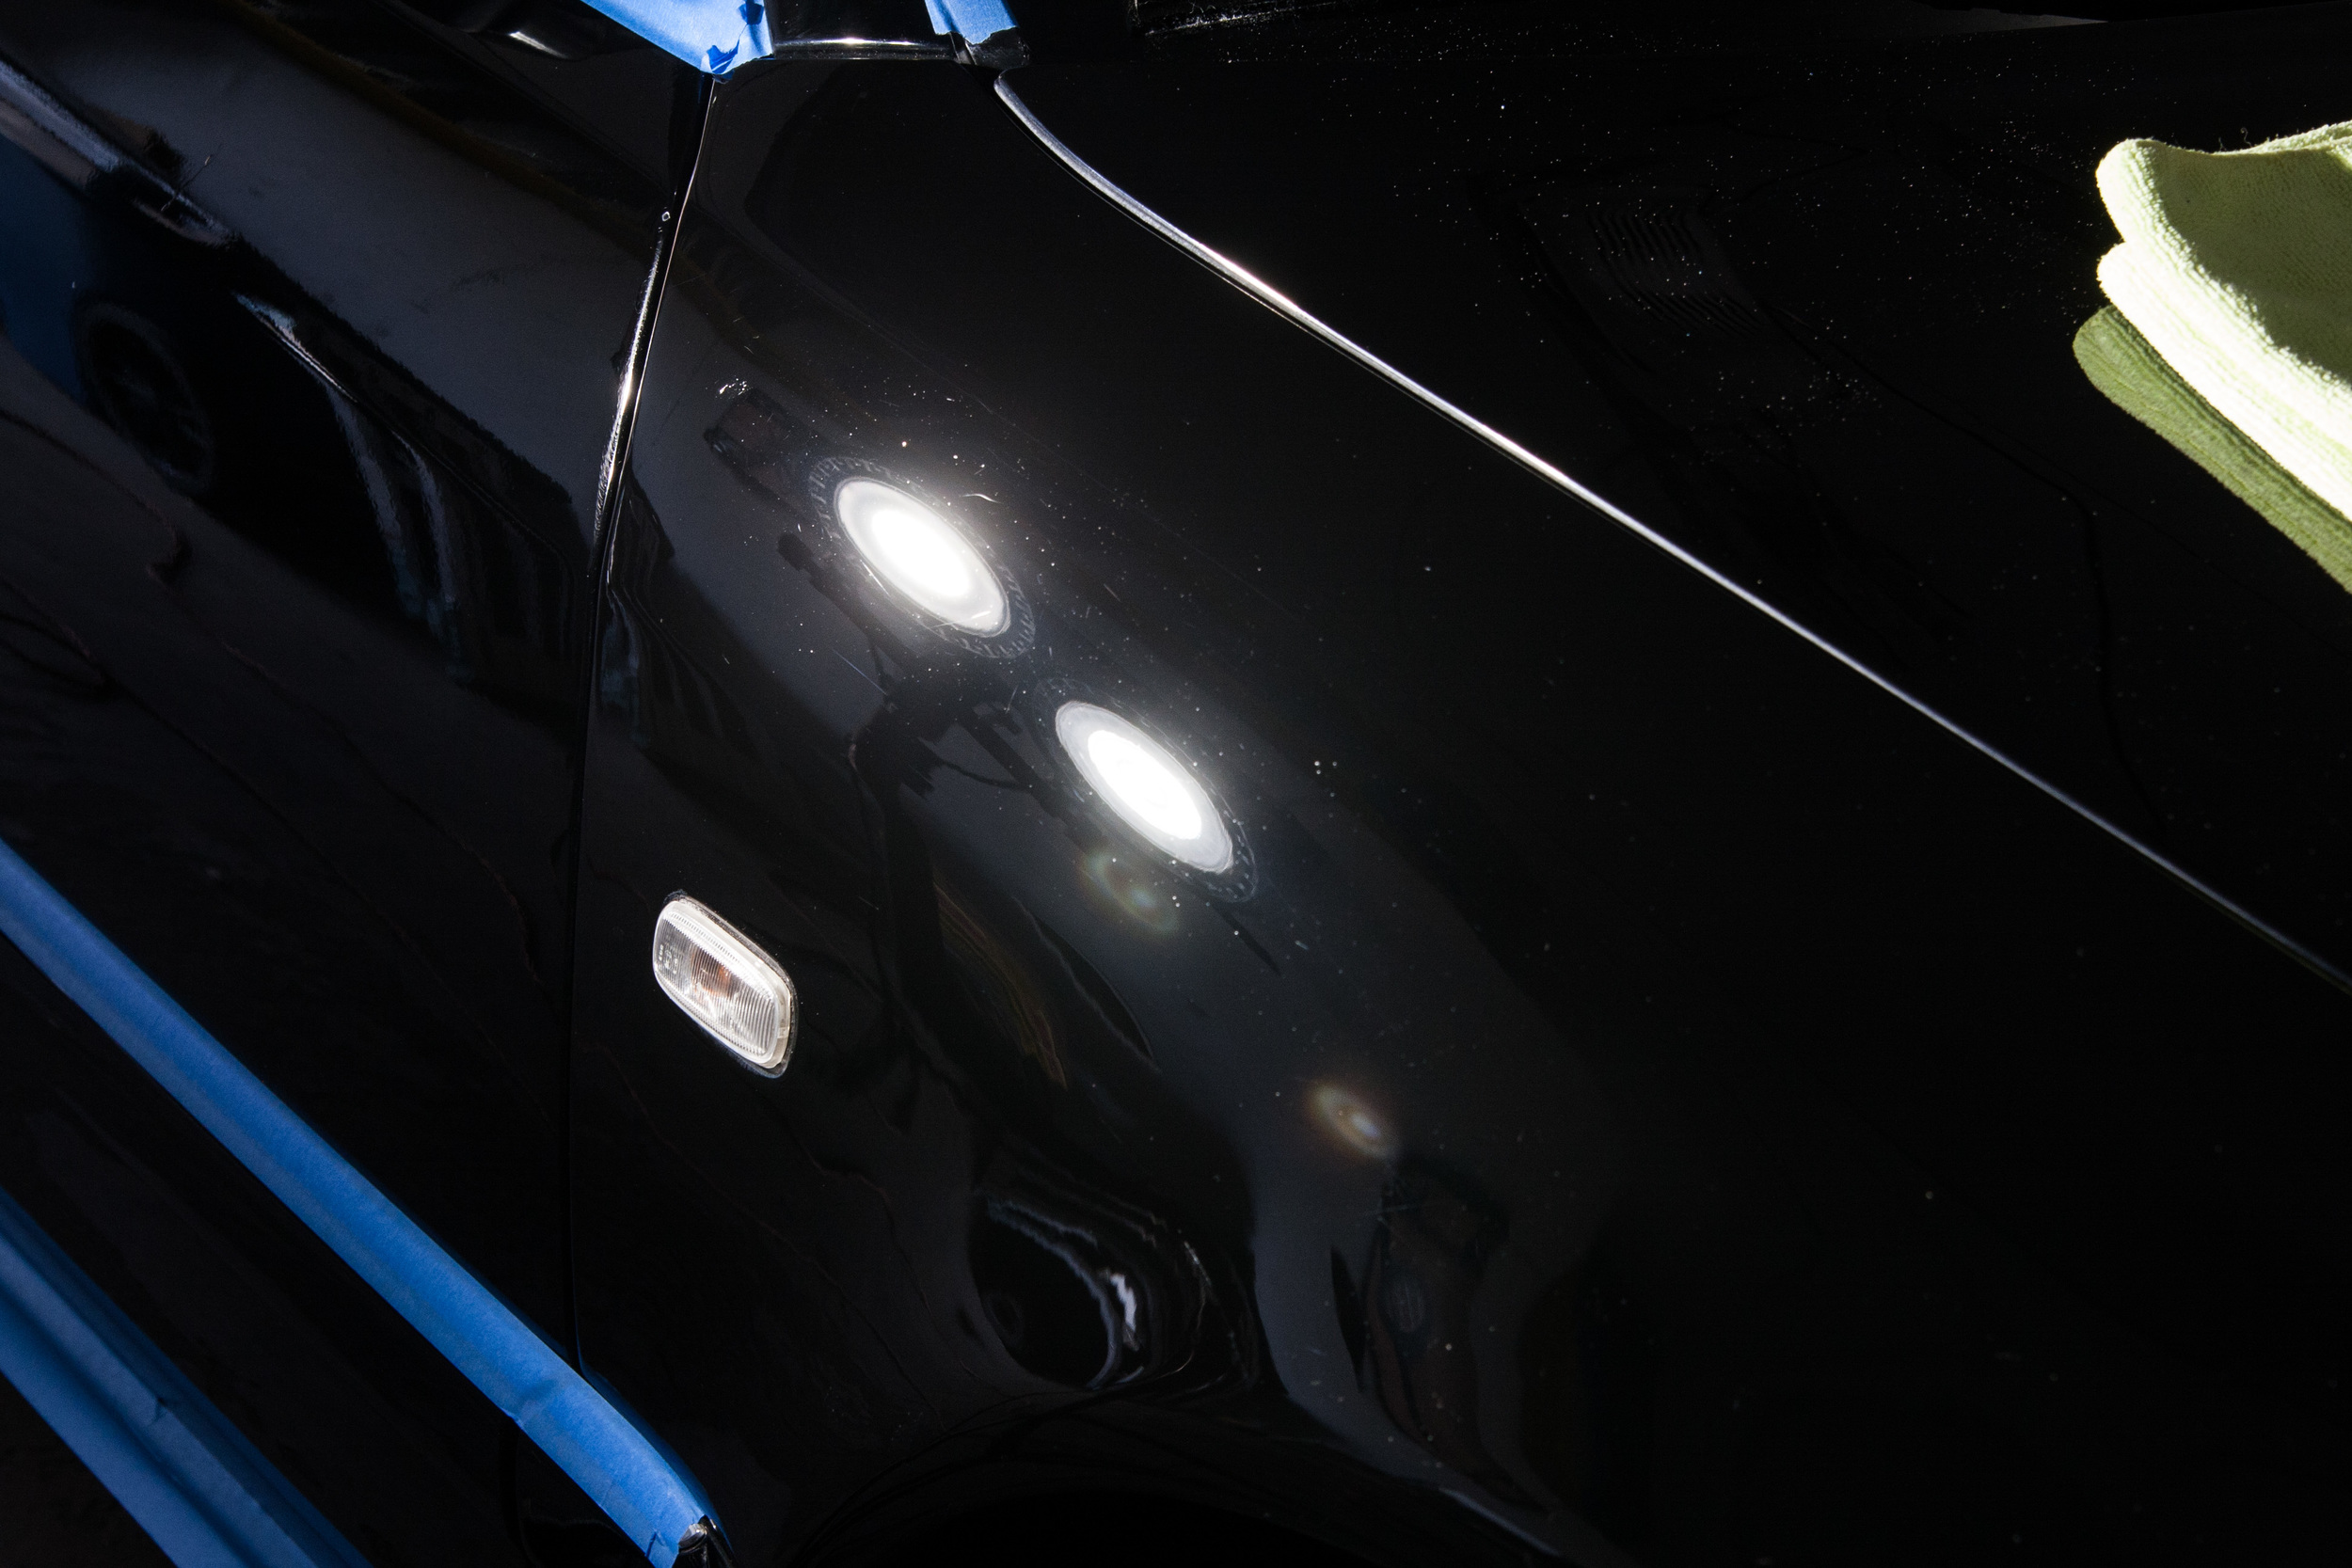
Your section size may be a function of the panel you are working on and you may be limited on how it can be divided.  Generally, doing more small sections will take slightly longer than one large section, but smaller sections isolate the abrasives to a smaller area and allow them to do more work.  When doing smaller sections, I may work several before wiping off the compound, this will help save a little time, but you still need to inspect your results.  Smaller sections can also be beneficial if your compound or polish is drying out too quickly.  Smaller sections do tend to use more product and pads get loaded faster, so expect to clean your pads more often or use more pads for the correction.

The number of passes you do has a direct impact on the level of correction.  More passes will mean more correction.  It's important to note the type of abrasives you are using, some will require that work them a certain amount of time to completely break down.  When stopping too soon, you will be left with an inconsistent finish, this is generally called 'short-cycling'.  The converse is also true, with a diminishing abrasive, after a certain number of passes, the abrasive as diminished to a point where is can no longer cut effectively.

The downward pressure you put on the machine also has a direct impact on correction.  But is also generates heat and can wear pads prematurely.  With free spinning machines there is a limit to the amount of pressure you can apply before the pad stops spinning and you are no longer effectively correcting the paint.  The key is to find a pressure that is still allowing the pad to rotate.  Easing up on pressure for the last few passes can aid in finishing he paint better when using an AIO or polish.  

Machine speed is a little more tricky and this is where the test spot is so important.  Some machines and abrasives like to be worked at a higher speed and this generally results in more defect removal.  But there are unique circumstances.  The Flex 3401 with a hybrid pad and menzerna can get outstanding correction when run at speed 3, whereas the correction at speed 5 or 6 may not be as good.  Similarly, when jewelling paint with an ultrafine polish, many people find that a rotary polisher running at 600 rpm is optimal, rather than the typical 1000-1200 rpm.  

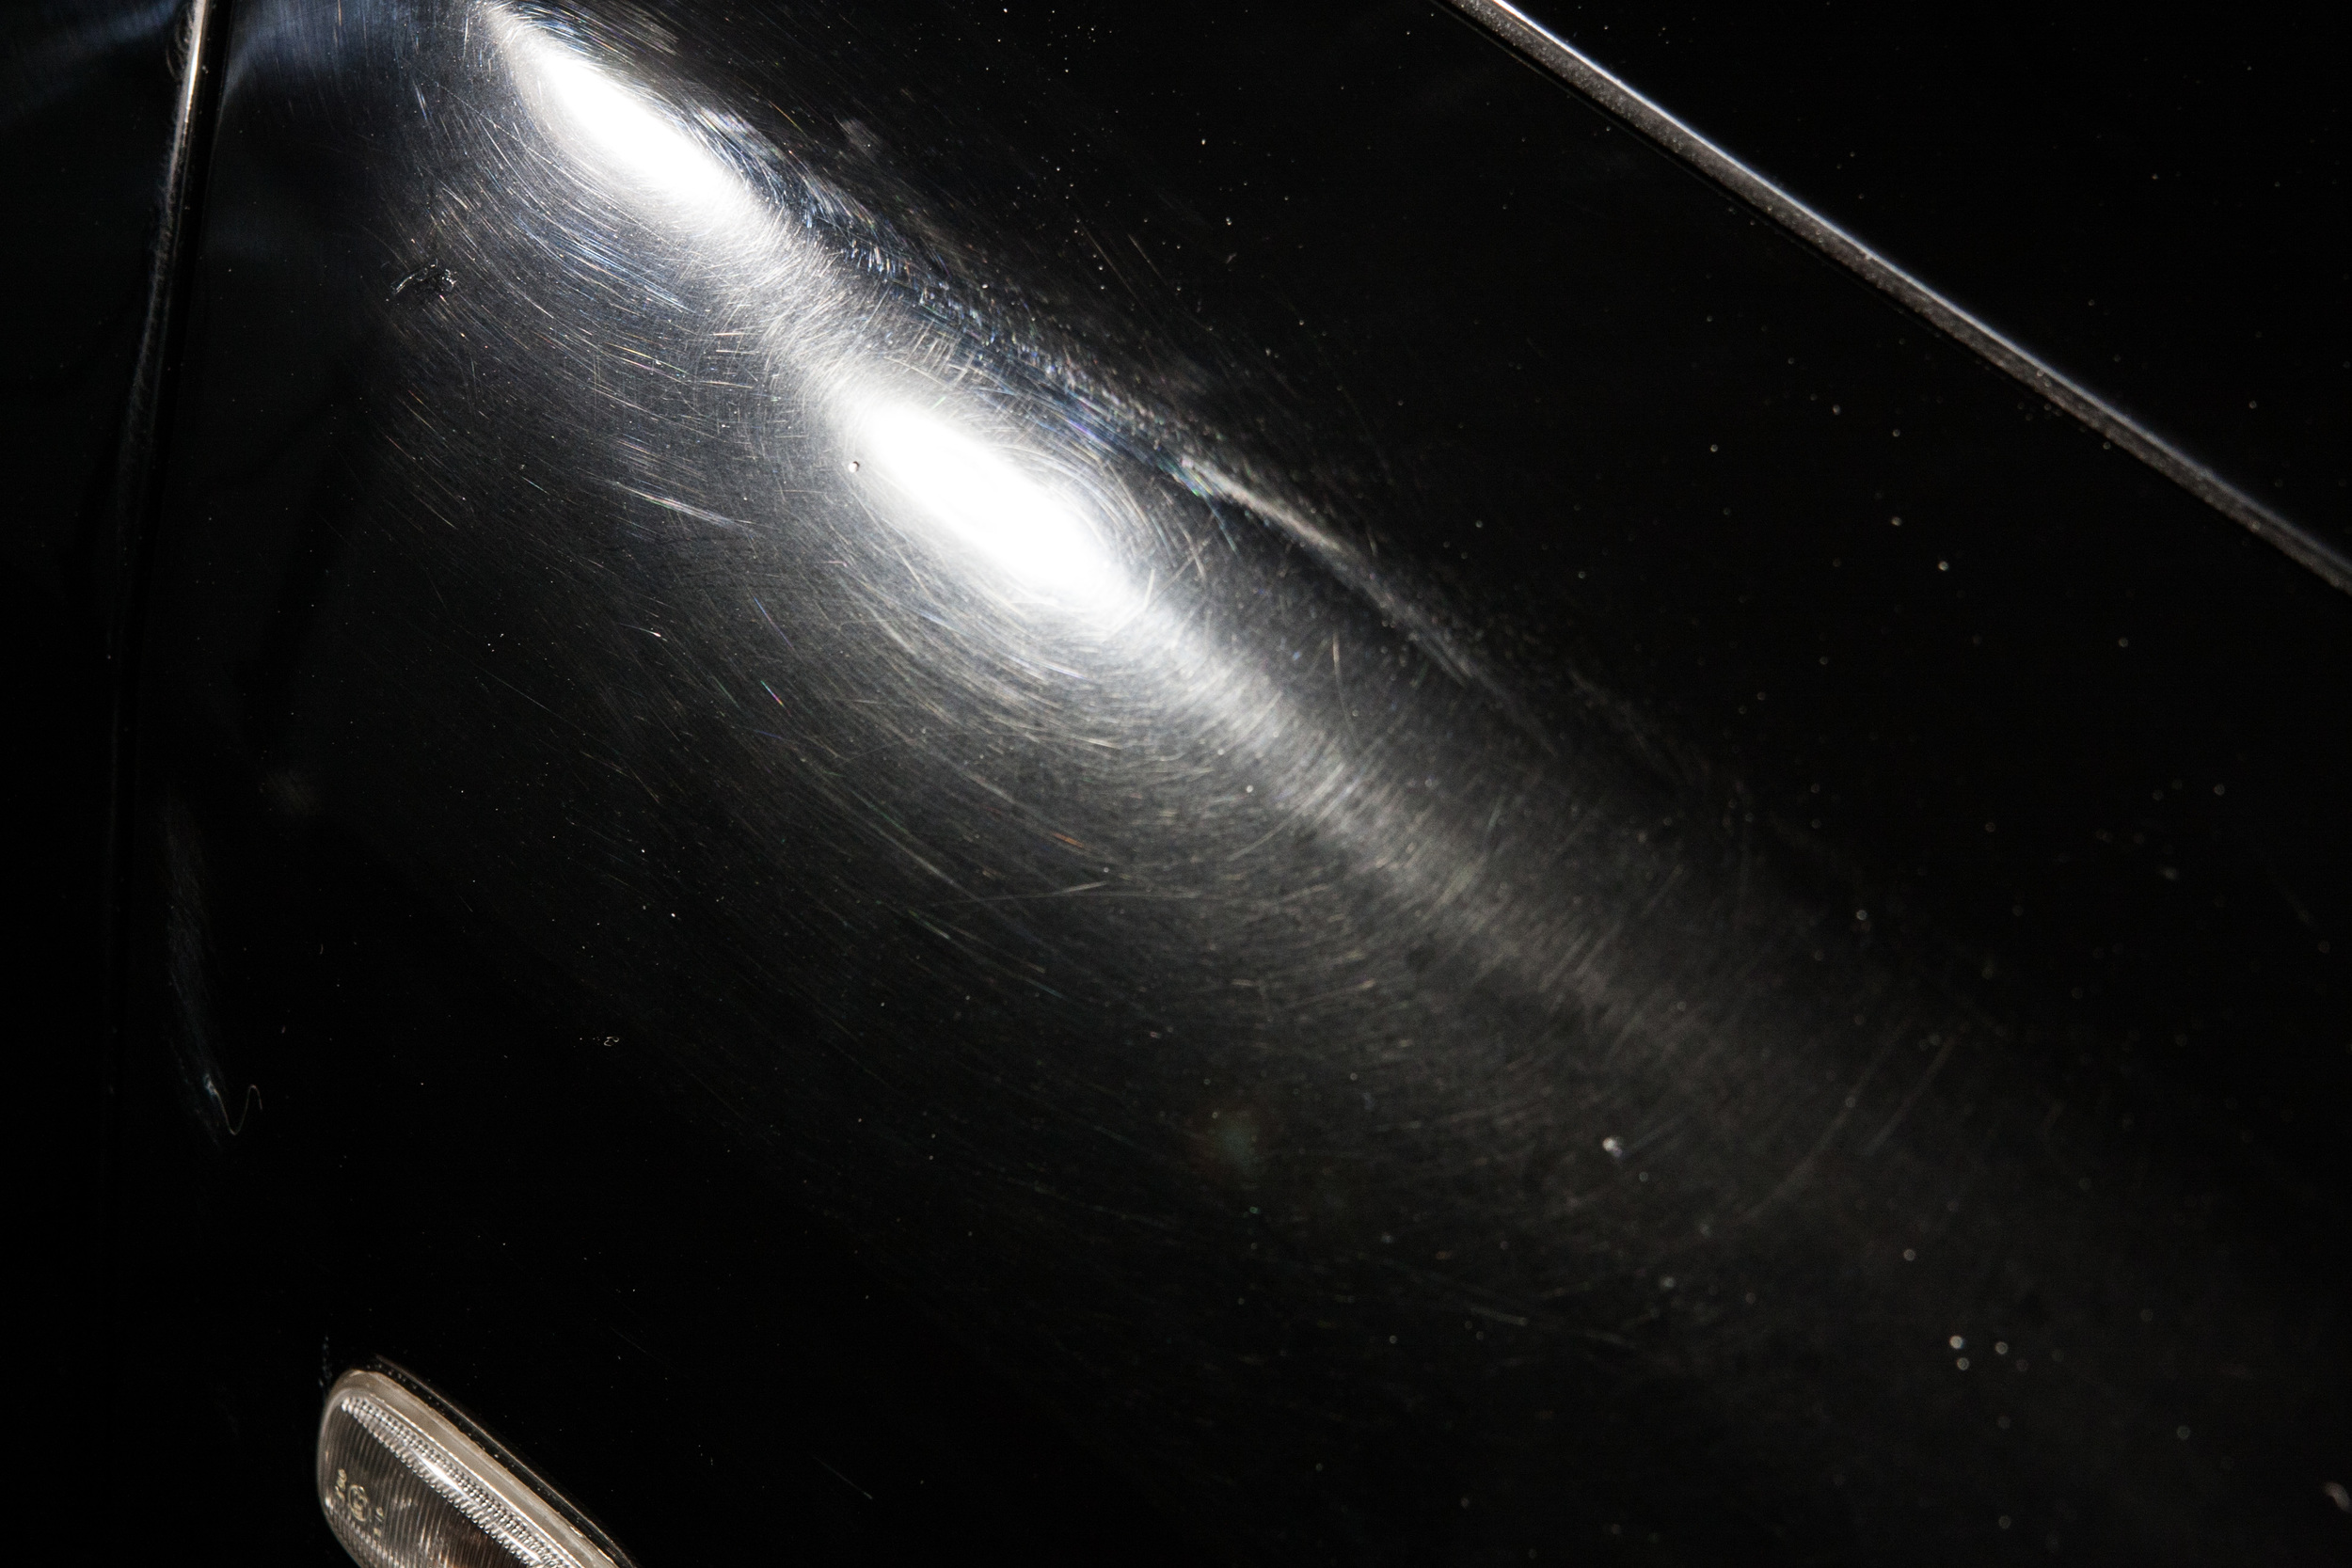
Arm speed once again has a direct impact on correction.  The saying goes, 'slow down to speed up'.  That is, slower arm movements will allow for faster cutting and in general a faster trip around the vehicle.  This also plays into what is referred to as abrasive isolation.  This is moving the pad slow enough that it carries more abrasive under the pad rather than leaving it behind the polisher.  In this way, you are isolating the abrasives to the pad face.  There is once again a balance that must be struck.  The slower you move, the more time passes for the carriers in the polish to dry out.  When this happens there is nothing to capture abraded paint and the result is a scouring action that leaves the paint finish less than ideal.  To alleviate this, you may consider wither speeding up your arm speed, shrinking the section size or using a supplemental wetting agent to reactivate the polish and provide a medium to carry away spent paint and abrasives.

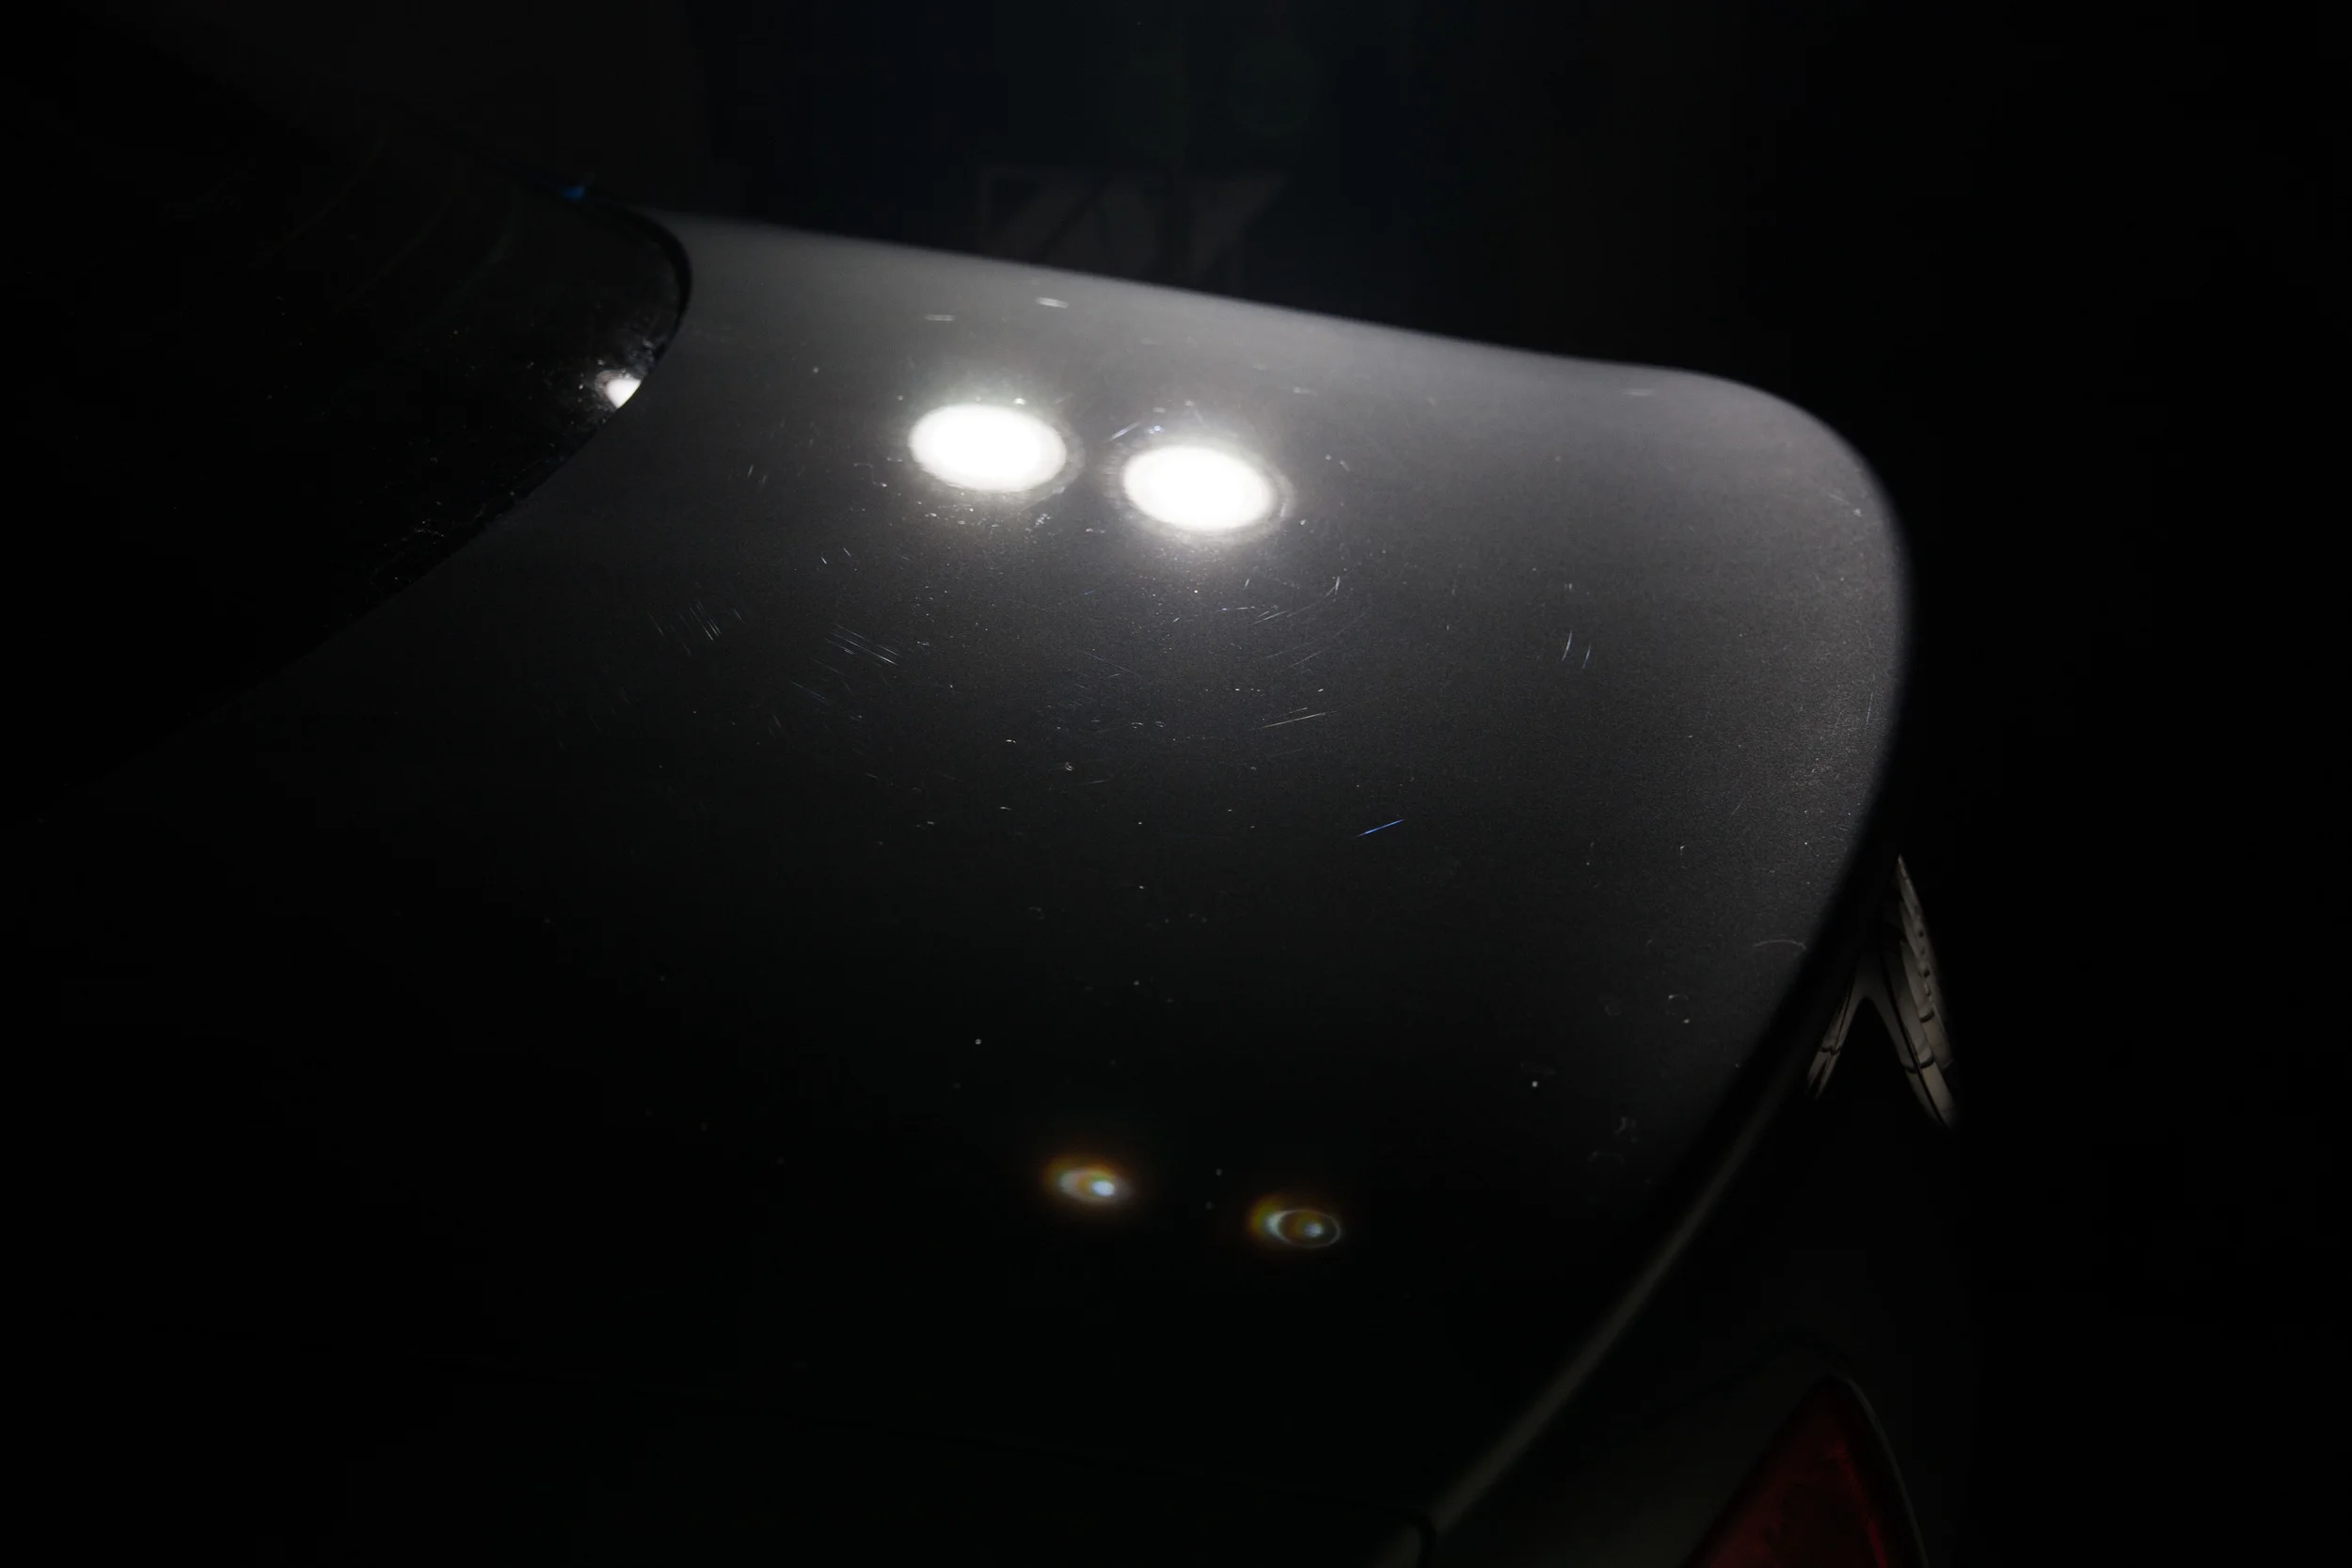
Angle of attack is tricky as well. We are referring to the direction you move the polisher and any tilt relative to the paint surface.  In a perfect world all panels would be square and flat.  This would make for very easy and uniform polishing, but also very uniform and ugly cars.  Dual action polishers do not like to have any tilt on the pad or it will suffer from rotation stalling and reduced cutting ability.  Forced rotation polishers, however, are not affected by pad tilt as the pad is directly driven by the motor.  This allows you to concentrate additional correction on a single defect or very thin panel, but in doing so, is likely to leave it's own defects and can burn through clearcoat very quickly.  With respect to the direction the polisher moves, we always try to make a cross hatch pattern of up-down and side-to-side.  But this is challenging on fenders and thin panels.  When doing these panels one very effective way to approach is by considering how an artist would have sculpted the clay model of the car.  This often means approaching on the diagonal and taking short scalloped bites into the panel or raised body line.  This technique can greatly improve both consistency and overall correction.

If you've made it this far, you probably also realized that there is quite a bit of interplay between all of these variables.  Experience is very helpful in bringing all these variables together into a system, but having a basic understanding about these variables will put you many steps ahead of the guy that just watched a couple videos and is trying to copy exactly what he saw.     

Spray Applied Paint Protection

This is a very broad category and, in reality, a subcategory of spray applied products.  The operative word in this is, protection.  There will be a future article discussing spray applied paint cleaners, but for the sake of focus, I've subdivided the category at a logical point. 

It should be noted that many products cross boundaries between cleaner and protectant.  Even some discussed below can be used in a pseudo-cleaning manner.  I've futher broken the category into several groups based on the formulation. 

Spray Applied Waxes - Though many products will call themselves a spray wax, it is extremely difficult to get any appreciable amount of wax into a spray-able form.  Such products require a micro-emulsion of carnauba or other wax for this to be achieved.  In general the wax will be accompanied by synthetic polymers that are more often found in sealant.  It should be noted that even in this case, higher viscosity polymers will not spray well in marge quantities by their very nature.  As such, a spray wax is limited in it's potential formulation.  These products are characterized by a slight darkening effect and generally have poor durability.  It should be noted that a higher polymer content, coupled with reactive silicones, can contribute to longer durability.  But, with no way to actively bind the wax molecule, the look may degrade while the performance remains.  There has been some development in polymer waxes, that is a wax that has been bonded to a polymer capable of cross-linking, though these are rare. 

Spray Applied Sealants - Similar to liquid sealants, these products are purely or predominantly synthetic.  They are also often based on polydimethylsilozane (PDMS) and can contain reactive silicones just as a traditional sealant.  As stated above, the polymer make-up is limited in viscosity due to the nature of the product as spray-able.  Similar to traditional sealants, they will typically be characterized by a sterile high shine and generally have better durability than they wax counterparts.  Some of these products are true sealants and can offer months of durability for minimal effort, others may only last a week or two.  A sub-section within spray sealants are wipe-on walk-away sealant.  As the name suggests, these products simply need to be wiped on, rather than allowed to haze and be buffed off, saving additional time.

Silica Based Spray Sealants -  These products take a step into the coating realm, utilizing similar SiO2 molecules, though generally without the carrier resins that aid in the durability of a true coating.  They are charactarized by a glassy look and extreme hydrophobic behavior along with months of durability.  They vary from easy to apply to challenging and there have been cases of bad batches from certain companies that result in a very streaky and poor finish that is difficult to resolve.  These products can be used as stand-alone protection, but are also used as toppers for coatings to avoid water spotting and re-establish hydrophobic performance.    

Touchless Spray Sealants - Though detailers often think of these are being strictly silica based, they were first introduced in tunnel and touchless car washes.  These products are generally sprayed on and rinsed off.  This is a good options for those looking to save time or avoid touch their paint.  Products available at tunnel car washes tend to have very short durability.  Those available from detailing outlets often contain silica and can last for several months.  In my own testing, I've found some can last through several application of wheel acid, where a normal paste wax or liquid sealant would fail.  In this respect, these can offer very robust and effective protection.

2015 Audi S5 Correction and Coating

Even a relatively new car can pick up defects quickly as a daily driver.  This particular S5 has been on the road less than a year, but there were a number of wash induced defects as well as some rotary holograms from removing the badges.  An intensive 1-step polish was able to remove the majority of the defects and was a great economical choice for a daily driver vehicle.  The paint was further enhanced with an entry level ceramic coating from Pinnacle Black Label.  To round out the work, the interior received a deep cleaning and sanitizing.

Process

  • Wheels cleaned with Megs DUB wheel cleaner and protected with Carpro Hydro2
  • Tires and wells cleaned with Megs Super Degreaser
  • Prefoam with CG Citrus Wash & Gloss and Ultimate Snow Foam
  • 2 bucket wash with CG Citrus Wash Clear
  • Mechanical Decontamination with Nanoskin autoscrub pad and Optimum No Rinse
  • Intensive Polish with 21mm DA, Rupes Yellow pad and Meguiars M205
  • Chemical Decontamination with Body Prep Solvent
  • Paint Coated with Pinnacle Black Label DIamond Surface Coating
  • Trim protected with Ultima Tire & Trim Guard
  • Tires Dressed with Carpro PERL
  • Dry brush, vacuum and steam all carpets
  • Jambs cleaned with APC and steam
  • Hard surfaces cleaned with steam and protected with Blackfire Interior Protectant
  • Leather treated with Leather Masters Strong Cleaner and Protection Cream

2002 Audi A8L Paint Correction

This vehicle was the subject of a recent post about a paint correction progression.  It was is rough shape and gave me the opportunity to showcase a full 3-step correction.  With current technology, it's rare that one needs to use a 3-step correction to get amazing results.  This particular vehicle was an exception.  The paint in this car is very hard, that is to say, it takes a very aggressive approach to remove defects.  It is also very scratch sensitive so it is difficult not to put defects back into the paint while working on it.  Finally, it is black, which will show any kind of defect remaining.

The owner recently purchased this car.  The previous owner had attempted to polish it prior to sale.  In this case, it did more harm than good.  There was dried residue left all over the vehicle which was challenging to remove.  The new owner intends to keep the car for a long time and does take pride in the way his vehicles looks.  As such, it was important that we remove as many defects as was safely possible.  There was sufficient paint on most of the vehicle to remove the very deep defects, however, the room of the car was exceptionally thin.  As such, only a two step process was used in these areas to bring back the majority of the clarity and shine, but many of the deeper defects could not be removed without compromising the paint system.

Process

  • Wheels cleaned with Megs DUB wheel cleaner and protected with Carpro Hydro2
  • Tires and wells cleaned with Megs Super Degreaser
  • Prefoam with CG Citrus Wash & Gloss and Ultimate Snow Foam
  • 2 bucket wash with CG Citrus Wash Clear
  • Mechanical Decontamination with Nanoskin autoscrub pad and Optimum No Rinse
  • Heavy Compound with Rotary, Wool and Pinnacle advanced compound
  • Medium Compound with 21mm DA, Megs microfiber pads and D300
  • Polished with 21mm DA, Blue polishing pad and Carpro Essence
  • Protected with TAC systems Quartz Max
  • Glass Coated with Pearl Nano Glass Coating
  • Trim protected with Ultima Tire & Trim Guard
  • Tires Dressed with Carpro PERL


10 Ways to Speed Up Your Detailing

There are countless tips and tricks handed down within the industry.  It used to be that the only way to learn these things was to develop them yourself or to have that knowledge passed on by a mentor.  In our digital age, tips and tricks are passed along daily from one side of the world to the other on detailing forums and facebook pages.  Below are some of the methods I use regularly to speed up my detailing process.  Most are free and some have a cost associated with them, but I've tried to provide economical suggestions that will have a very quick return on investment when considering the time saved. 

Use an alternative wash method.  The 2 bucket method is great and is very safe and effective.  For maintenance washes of pristine vehicles, it is the ideal way to avoid any wash induced defects.  But for lightly soiled vehicles, an alterative wash technique like a rinseless wash can cut the was time by 50%-70% and provide a near equal result.

Agitate tight areas while pre-foaming.  If you are the type of person that loves a foam party, then you may find yourself standing around for a few minutes while you let your foam dwell.  You can use this time to do the rest of your set-up, but I prefer to spend it using a small detail brush to agitate tight areas like the gas cap, under door handles and the wiper cowl.

Utilize quick connect fittings and valves on your hoses. Between filling buckets, connecting to power washers, normal trigger sprayers, etc, you may be shutting off the water half a dozen times and screwing/unscrewing twice that many fittings.  It's much faster to screw these fittings on once and then pip them on and off in an instant while you are working.

Clay your car while it's wet. If you are planning on claying your vehicle, then don't both drying it.  You'll be getting it wet again with clay lube and then wiping it dry, so skip the first drying step and use a little more clay lube.  If you are using a clay lube concentrate, it's probably costing you $2 or less per gallon so it's not going to break the bank and it will save you 20 minutes easily.

Use a clay wash mitt.  This is one I don't personally endorse, but it does speed things up.  You have to be pretty meticulous about keeping your wash water clean if you plan to use this method.  The idea is to use the fiber side of the mitt to wash and then immediately use the clay side to clay the car at the same time.  It will be just about as fast as you can get with claying except for perhaps a DA pad on a machine.  Alternatively, use a clay towel or DA pad.

 Apply your wax or sealant with a machine.  This saves both time and elbow grease.  You can get very even coverage of your sealant or wax, use much less product and do it in half the time or less.

Use a wipeless spray sealant. These products are awesome.  Spray on, rinse off and dry....your paint or wheels are protected.  This type of product can be used for all parts on the car, but I find the biggest benefit is on wheels, where sealant application is tedious.  I can have my wheels sealed in about 30 seconds each.  

Use compressed air to blow out seams. A quality compressor is a big investment, but there are other ways to get compressed air.  A leaf blower can serve the same purpose much more economically.  Blowing water out of seams, cowls and other tight and intricate spots will save time versus trying to wipe them dry.   

Use an All-in-One Dressing.  There are a few products on the market now for rubber and plastic that will clean and protect it in one step.  With some products, this is a compromise.  You will get good cleaning or good protection, but not both.  One Exception is Blackfire AIO tire and trim protectant.  It's strong enough to remove old wax residue and will last for several weeks.    

Use a spray wax as a drying aid.  I prefer to dry my vehicles with compressed air and a blower, but there are always some drops of water left. and I want to make sure the car looks perfect.  Instead of drying the car completely and then applying a spray wax, do it while the car is wet.  The spray wax will act as a lubricant to reduce the potential for wash induced defects, promote streak free drying and protect the paint all at the same time.